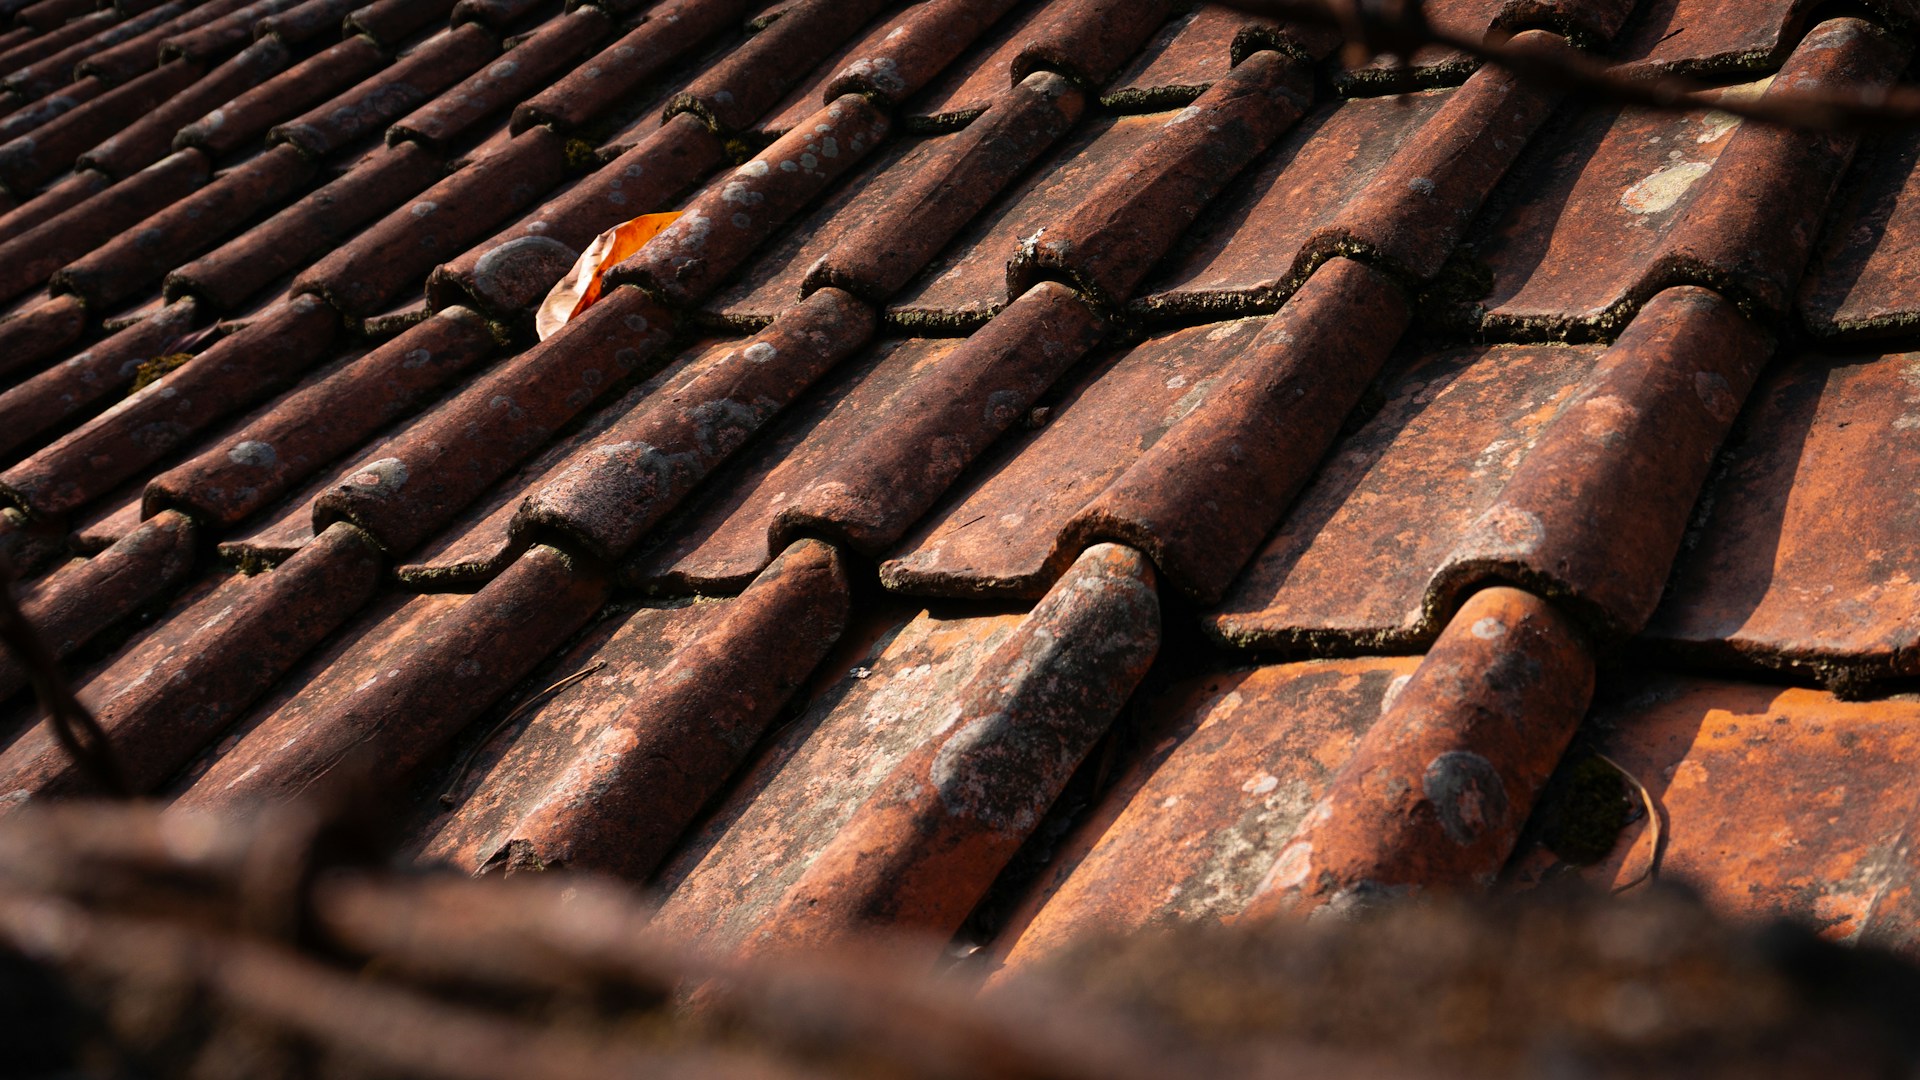
Reclaimed flat clay roof tiles combine historic craftsmanship with long-term performance. Each tile carries texture and patina that reflect its origin and age, lending warmth and heritage value to both old and new homes.
Reclaimed Slate Roofing provides reclaimed flat clay roof tiles sourced from verified demolitions and heritage restorations. Each batch is cleaned, graded, and tested for reuse, ensuring tiles maintain strength, color depth, and weather resistance.
This guide explains how reclaimed flat clay roof tiles differ from modern materials, their architectural role, sourcing and matching methods, and how to install and maintain them for decades of reliable service.
What Are Reclaimed Flat Clay Roof Tiles?
Reclaimed flat clay roof tiles are salvaged, kiln-fired clay tiles with a flat profile. Sourced from older buildings, they show signs of age like patina, color variation, and wear, but remain structurally useful for new or restored roofs.
Key Characteristics
These tiles are typically 8–12 mm thick and fired at high temperatures for durability and weather resistance. Colors range from pale buff to deep red, influenced by the clay and firing process. Many tiles display marks from hand-pressing or old fastenings, which help during repairs.
Suppliers grade tiles for soundness, separating whole tiles from those that are cracked or chipped. Expect slight size variation and occasional curvature from years of use. Properly vetted reclaimed flat tiles perform well in freeze-thaw cycles.
Differences From Barrel Tile and Other Roof Tile Types
Flat tiles have a low, smooth profile that lies in neat rows and overlaps to shed water. Barrel (S-shaped) tiles form a semi-cylindrical profile, creating a ridged shadow line and requiring different batt spacing and underlayment. Switching from barrel to flat tiles requires redesigning the roof framing and tile exposure.
Flat tiles provide a cleaner, more contemporary look, while barrel tiles offer a classic Mediterranean or Spanish style. Installation differs: flat tiles overlap and may use clips, while barrel tiles often interlock. Always match the tile type to your roof’s geometry and local requirements.
Historical Significance and Architectural Uses
Flat clay tiles have a long history, made by shaping natural clay, firing it, and fitting tiles in rows for durable, weatherproof roofs. They appear on cottages, townhouses, and institutional buildings, creating clean roof lines and consistent texture.
Origins and Traditional Manufacturing
Flat roof tiles date back centuries, with examples found in Europe and early America. Craftspeople formed tiles by hand or pressed them in molds, resulting in small variations in size and edge finish that help identify reclaimed pieces today.
Later, manufacturers used extrusion and machine pressing for uniform profiles. Clay was sanded, glazed, or left natural before firing. Reclaimed tiles may show kiln marks, stamping, or slight warping from original methods.
Popular Styles Across Regions
In England and northern Europe, flat tiles usually have a plain rectangular shape and were used on steep roofs. Local clay colors—from pale buff to deep red—often match regional geology. In the U.S., flat clay tiles appear on colonial and revival-style homes, providing a restrained, classical look.
When sourcing reclaimed tiles, match profile, thickness, and color to maintain correct roof lines and drainage.
Role in Historic Preservation
Using reclaimed flat roof tile preserves a building’s original appearance and materials. Original tiles often fit existing battens and eaves without changing the roof pitch or flashing. Preservation boards often prefer reclaimed tiles because they retain weathering, texture, and color variation.
Inspect reclaimed tiles for cracks, freeze damage, and correct size. Replace only damaged tiles to maintain both structural function and historic character.
NPS Recommendations for Tile Reuse
The National Park Service (NPS) advises retaining original clay tiles where possible, following Preservation Brief 30. The NPS highlights the value of reusing weathered, historically correct materials to maintain authentic roof profiles and finishes.
Reclaimed tiles meet these conservation standards, supporting listed-building restorations and historically sensitive projects.
Sourcing and Matching Reclaimed Flat Clay Roof Tiles
To blend repairs seamlessly, identify tiles accurately, find reliable sources, and fit them carefully. Focus on profile, size, and weathering, then match stock and installation details.
Tile Identification Methods
Record exact measurements: length, width, thickness, and overlap. Measure headlap, gauge, and any interlock features so replacements fit flush with existing tiles.
Take clear photos of the front, back, edge profile, and any maker’s marks. Note texture and color tones. Compare your data to reference sheets or catalogs, and keep a sample for confirmation when sourcing.
Sourcing and Inventory Options
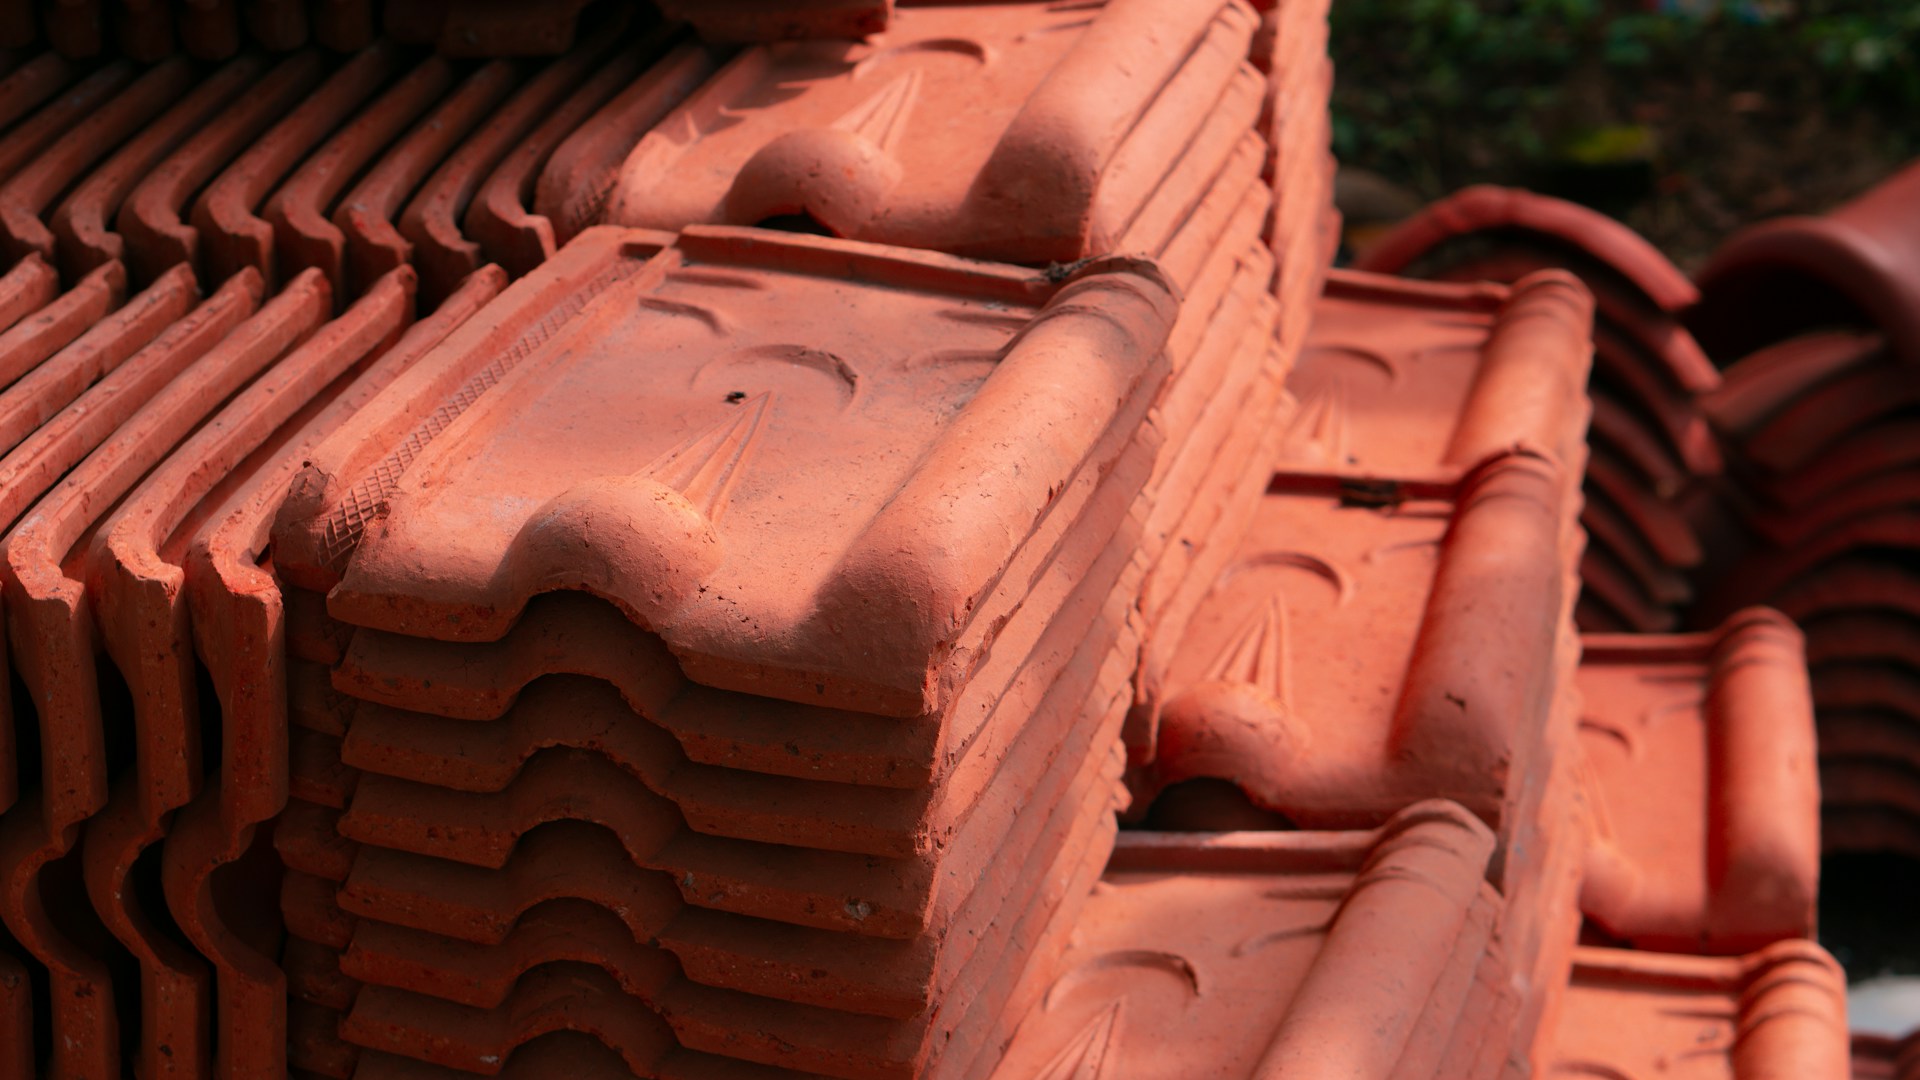
Check reclamation yards, specialized dealers, and salvage networks. Dealers may stock discontinued lines and ship pallets for larger orders. Ask about grading, stock condition, and get photos of the exact tiles offered.
Some suppliers offer matching services, searching inventories, and comparing profiles. Ensure proper packaging for shipping to prevent breakage.
Finding the Right Fit for Restorations
Match profile and gauge first, then color and texture. Correct headlap and interlock prevent leaks and reduce cutting. Order 5–15% extra for breakage and future repairs, and store spares on-site.
During installation, place tiles to blend wear patterns and color. Use slightly different tiles on less visible slopes. If needed, lightly age new tiles with compatible finishes instead of forcing poor fits.
Benefits of Choosing Reclaimed Flat Clay Roof Tiles
Reclaimed flat clay roof tiles provide unique looks, lower environmental impact, and often better value than new options. They offer weathered patina, reduce waste, and can save money if sourced carefully.
Aesthetic Appeal and Patina
Reclaimed tiles show natural color variation, worn edges, and surface texture from years of weathering. These details create depth and fit well with period homes or designs seeking authenticity.
Each tile has its own history, allowing you to mix sizes and tones for a lived-in appearance. Reclaimed tiles often blend seamlessly with existing roofs, preserving original character.
Sustainability and Environmental Impact
Choosing reclaimed tiles reduces the need for new kiln firing and clay mining, saving energy and lowering emissions. You also divert usable materials from landfills.
Pairing reclaimed tiles with local suppliers further reduces transport emissions. Reusing tiles means you benefit from the energy already spent to make them, making them ideal for eco-focused projects.
Cost Advantages vs. New Tiles
Reclaimed flat clay roof tiles often cost less per square foot than new handcrafted tiles, though prices vary. Savings are common when sourcing from salvage yards or demolition projects, especially for small repairs.
You may need extra tiles for sorting and breakage, and labor can be higher if tiles need reconditioning. However, the lower material cost and long lifespan usually offer better value than buying new tiles.
Installation and Maintenance Best Practices
Prepare the roof deck and flashings, use proper laying patterns and fastenings, and keep the roof clean with timely repairs to prevent leaks and broken tiles.
Preparing the Roof Structure
Check the roof deck for rot, soft spots, and level issues before handling any reclaimed flat roof tile. Replace damaged sheathing and confirm the slope meets tile requirements—usually at least 3:12 for flat tile.
Install a full underlayment system and add a waterproof membrane at valleys, eaves, and around chimneys. Space battens to match tile length and support points. Use corrosion-resistant nails or screws. Fit metal flashings at penetrations and eaves to direct water away from the deck.
Laying Techniques for Flat Tiles
Lay tiles from the lowest eave and work horizontally. Dry-fit a row to check alignment and mix colors and wear patterns. Maintain a straight starter course and use a chalk line every few rows.
Fasten tiles at designated points with stainless steel or galvanized clips or nails. Use mechanical fasteners in high-wind zones. Stagger vertical joints and cut tiles at hips, valleys, and around penetrations as needed.
Keep matching replacement tiles on hand and document the layout for future reference.
Routine Care and Repairs
Inspect your roof twice a year and after storms. From the ground, look for slipped, cracked, or missing tiles, and check flashings and gutters for blockages.
Remove moss and debris with a soft brush or low-pressure washer. Replace broken tiles by lifting adjacent ones and sliding in a match. Repoint ridge and hip mortar where needed, using a compatible mortar.
Record maintenance dates and keep spare tiles and fixings for future repairs.
Building with Integrity and Lasting Value
Reclaimed flat clay roof tiles offer more than a weatherproof surface — they protect architectural heritage and reduce environmental impact. Their natural tones and historic wear patterns create roofs that age gracefully while performing reliably.
Reclaimed Slate Roofing supplies reclaimed flat clay tiles with verified provenance and quality grading. Their experts help match size, tone, and profile for seamless integration in both restorations and new builds that demand character and durability.
Restore history the right way. Request a quote or consultation from Reclaimed Slate Roofing to find reclaimed flat clay roof tiles that match your project’s style, structure, and sustainability goals.
Frequently Asked Questions
This section covers how to check tile authenticity, install reclaimed flat clay tiles, match old tiles, estimate costs, use tiles in different climates, and understand environmental benefits. Each answer gives clear steps and practical tips for your project.
How can I determine the authenticity of reclaimed flat clay roof tiles?
Check tile markings, manufacturer stamps, or unique profiles. Measure length, width, and thickness, and compare to known models.
Tap tiles lightly and listen for a clear ring; a dull sound may mean internal cracks. Look for consistent firing marks, uniform clay density, and original nail holes that match historic installation methods.
Ask the seller for details about the tiles' origin, building age, and any grade testing. Good suppliers provide photos, batch sorting, and inspection reports.
What are the best practices for installing reclaimed clay roof tiles?
Sort tiles by profile, color, and condition before starting. This helps avoid fitting problems and creates a uniform look. Use only sound tiles for weatherproofing and replace any cracked or thin ones. Use matching underlayment, battens, and fixings designed for clay tiles.
Stagger joints and follow original overlap dimensions to keep water out. Have a roofer experienced with clay tiles install or check your work for the best results.
How do you match old flat clay roof tiles for a seamless repair?
Measure several existing tiles for average dimensions and profile details. Take photos of edges, interlocks, and marks to compare with suppliers.
Choose Grade 1 tiles for strength and freeze resistance. If you can't find exact matches, blend similar colors and place replacements in less visible roof areas. Keep spare tiles for future repairs. Sorting by batch and shade gives the most consistent appearance.
What should I consider when calculating the cost of reclaimed clay roof tiles for my roofing project?
Count the number of tiles per square foot based on your roof's pitch and size. Add 10–15% extra for waste, cuts, and damaged tiles. Include the costs of inspection, sorting, shipping, and any tile repairs.
Consider labor rates for experienced installers and any special scaffolding or handling needed. Compare reclaimed tile prices to new custom-made tiles if exact matching matters. Budget for replacement underlayment and fasteners suited to clay roofing.
Can reclaimed flat clay roof tiles be used in all climates, and what maintenance do they require?
Grade 1 tiles perform well in freeze–thaw and coastal climates if free from spalling or microcracks. Lower-grade tiles may not last through harsh winters. Inspect your roof yearly for cracked or slipped tiles, mortar decay, and blocked gutters.
Replace damaged tiles quickly and keep flashing and underlayment in good condition. Clean moss and debris gently, avoiding high-pressure washing. Hire a professional for major repairs to maintain proper alignment and weatherproofing.
Are there environmental benefits to using reclaimed clay tiles for roofing compared to new ones?
Reclaimed tiles avoid the energy use and emissions that come with manufacturing new tiles. Reusing them reduces the demand for new clay and keeps materials out of landfills.
Using these tiles preserves historic materials and original appearance, which supports restoration projects. Make sure the reclaimed tiles are in good condition to ensure a long service life and real environmental benefits.