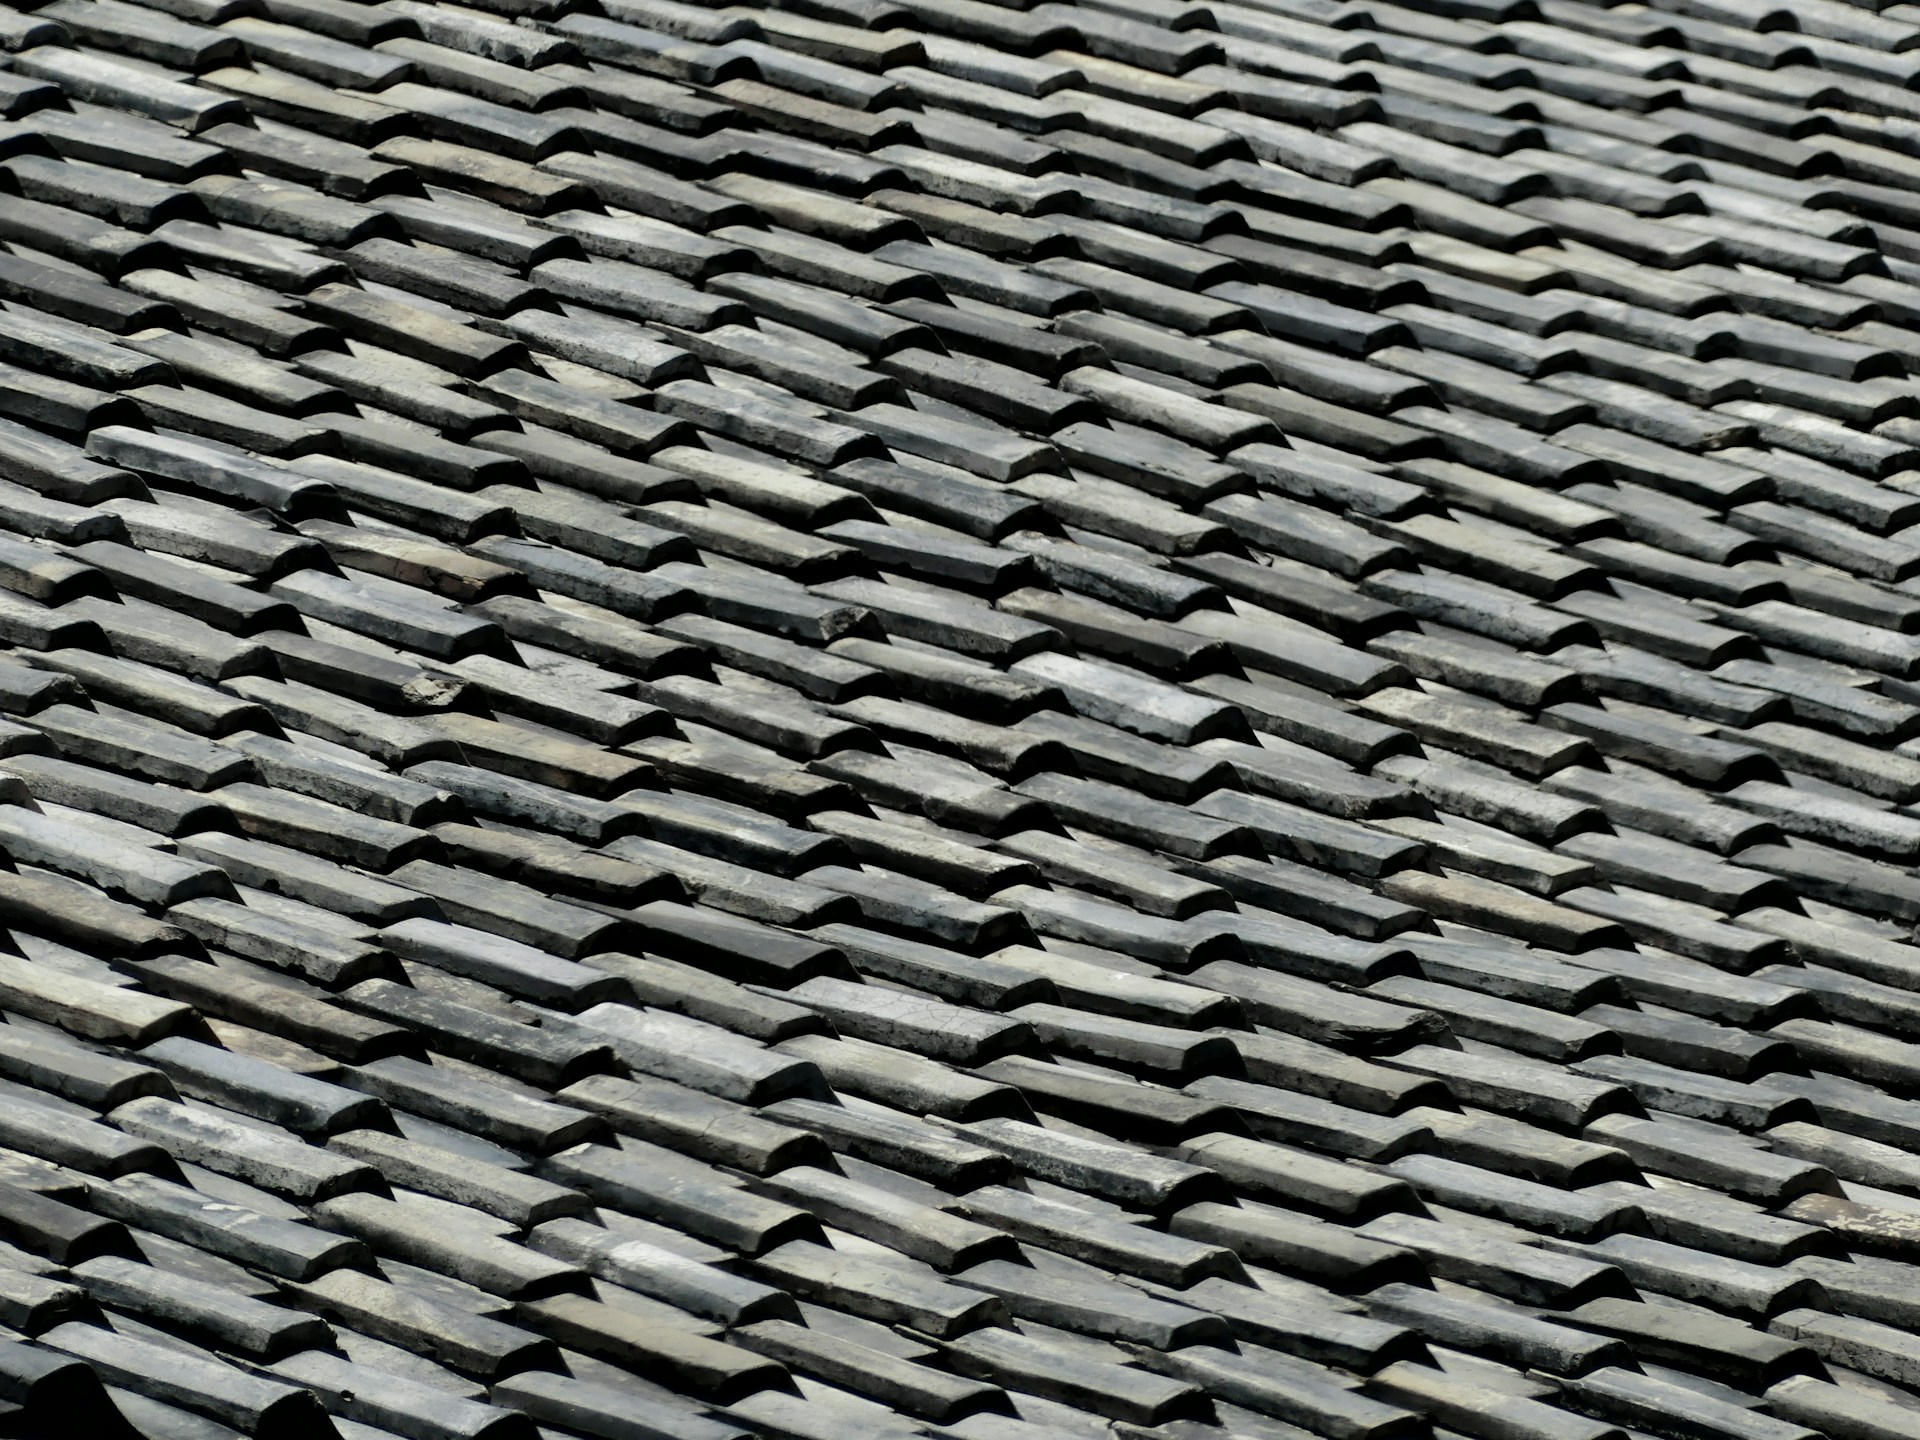
Slate roofs deliver a proven, long-term solution with a distinct, historic look. But they are heavy. If the structure is not designed to carry the load, problems show up fast.
Before you move forward, confirm your framing can handle authentic slate. That may mean reinforcing rafters, upgrading decking, or adjusting roof pitch to meet current code requirements.
This guide breaks down what matters on the job. Load calculations, deck selection, slope requirements, bracing, and fastening methods. You will also get practical insight into moisture control, long-term durability, and what to expect when working with reclaimed materials.
If you are planning to order, take time to verify specs and material consistency upfront. Suppliers like Reclaimed Slate Roofing provide pre-vetted slate, but it is still on you to make sure your structure is ready to support it.
Structural Load Requirements
Slate isn't light. If you want your roof to last, your framing needs to carry the weight and transfer it down to the walls and foundation. Always check tile weight, rafter size, and wall strength before you start, or you'll risk sagging, fastener pull-out, or worse.
Weight of Slate Tiles
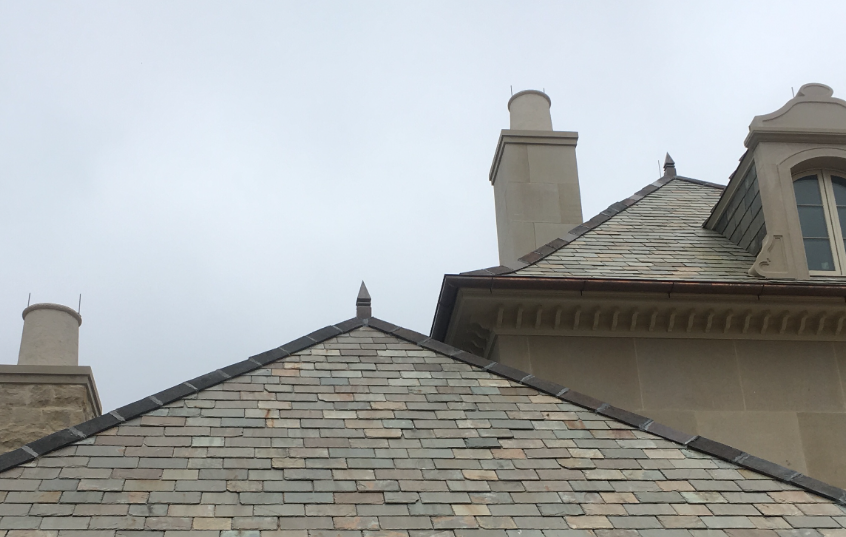
Slate tiles can run anywhere from 6–12 pounds per square foot for thinner ones, up to 10–18 psf for those thick, old-school slates. Figure out your total dead load by multiplying the psf by your roof area.
But don't stop at just the tiles. Underlayment, battens, flashings, and snow all add up. Local building codes will tell you the minimum live and snow loads, but you need to add the slate's weight on top of that when sizing your structure.
Heavier slate demands tougher fasteners and more secure nailing patterns. Always check reclaimed pieces for cracks—they won't hold as much as you hope.
Roof Framing Specifications
Rafters and trusses need to stand up to slate's dead load over the long haul. For slate, you'll usually want deeper or more closely spaced rafters—think 2x8 or 2x10 at 16"–12" centers, depending on your span and load. If you're using trusses, make sure they're rated for slate, not just shingles.
Sheathing should be solid—3/4" plywood or board sheathing is the norm to spread those point loads and keep things from warping. Collar ties, rafter ties, or ceiling diaphragms can help control rafter spread, especially with the weight of slate.
If you're re-roofing with reclaimed slate, don't skip inspecting the framing for rot or signs of old stress. Reinforce or sister up any members that are sagging more than code allows before you put slate up.
Load-Bearing Walls
The weight from the roof needs a clear path down to the foundation. Make sure your exterior and any partition walls under rafters are up to the task. In older buildings, you might need to add steel posts, new bearing walls, or even wider footings.
It doesn't hurt to check foundations for settlement risk before you add a ton (literally) of slate. If you're moving or altering walls, set up temporary shoring and get an engineer to design the load transfers.
Reclaimed Slate Roofing can give you the weight specs for their tiles so your engineer can size everything right. Keep those numbers handy for your permit paperwork.
Roof Decking Compatibility
Your decking has to hold up the slate, stay dry, and give you something solid to nail into. Pick materials that meet the load and moisture needs, or you'll be back up there fixing things sooner than you'd like.
Suitable Decking Materials
Go with solid sheathing—OSB or plywood—over rafters, no gaps. Plywood is usually the safer bet in older or damp homes since it holds nails better and doesn't delaminate as easily as thin OSB. If you can, use exterior-grade, tongue-and-groove panels to cut down on movement.
If you're restoring an old place, wood boards (1x) can work, but check for rot and swap out anything sketchy. Metal deck or spaced sheathing? Forget it unless you've got a special underlay system and the manufacturer's blessing. If you're using reclaimed slate, ask the supplier what support and fasteners they recommend for your specific slate.
Decking Thickness Guidelines
Decking thickness depends on your slate and rafter spacing. For most natural slate roofs with 3/16"–5/16" slates:
- 3/8" plywood is only for short spans under 12" OC—rarely a good idea.
- 7/16" OSB or 1/2" plywood works for 12"–16" OC rafters.
- 5/8" plywood or thicker is better for 16"–24" OC rafters or big, heavy slates.
If you have large or extra-heavy reclaimed slates, bump the thickness up a notch. Always check local code and get an engineer's input if your spans or snow loads are big. Use corrosion-resistant fasteners and don't place them too close to board edges.
Moisture Protection Methods
Install a full underlayment system rated for steep-slope and heavy-slate roofs. Felt or synthetic underlayment works, but add a second water barrier at valleys and eaves. Ice-and-water shield belongs at eaves and in deep valleys or anywhere wind-driven rain is a worry.
Vent the roof: intake at the eaves, exhaust at the ridge so moisture doesn't get trapped. Lay roofing paper tight but leave some drying paths; don't trust ventilation alone to keep things dry. Use metal flashing, overlapped to shed water off the deck. Stainless or copper fasteners near reclaimed slate help avoid corrosion down the line.
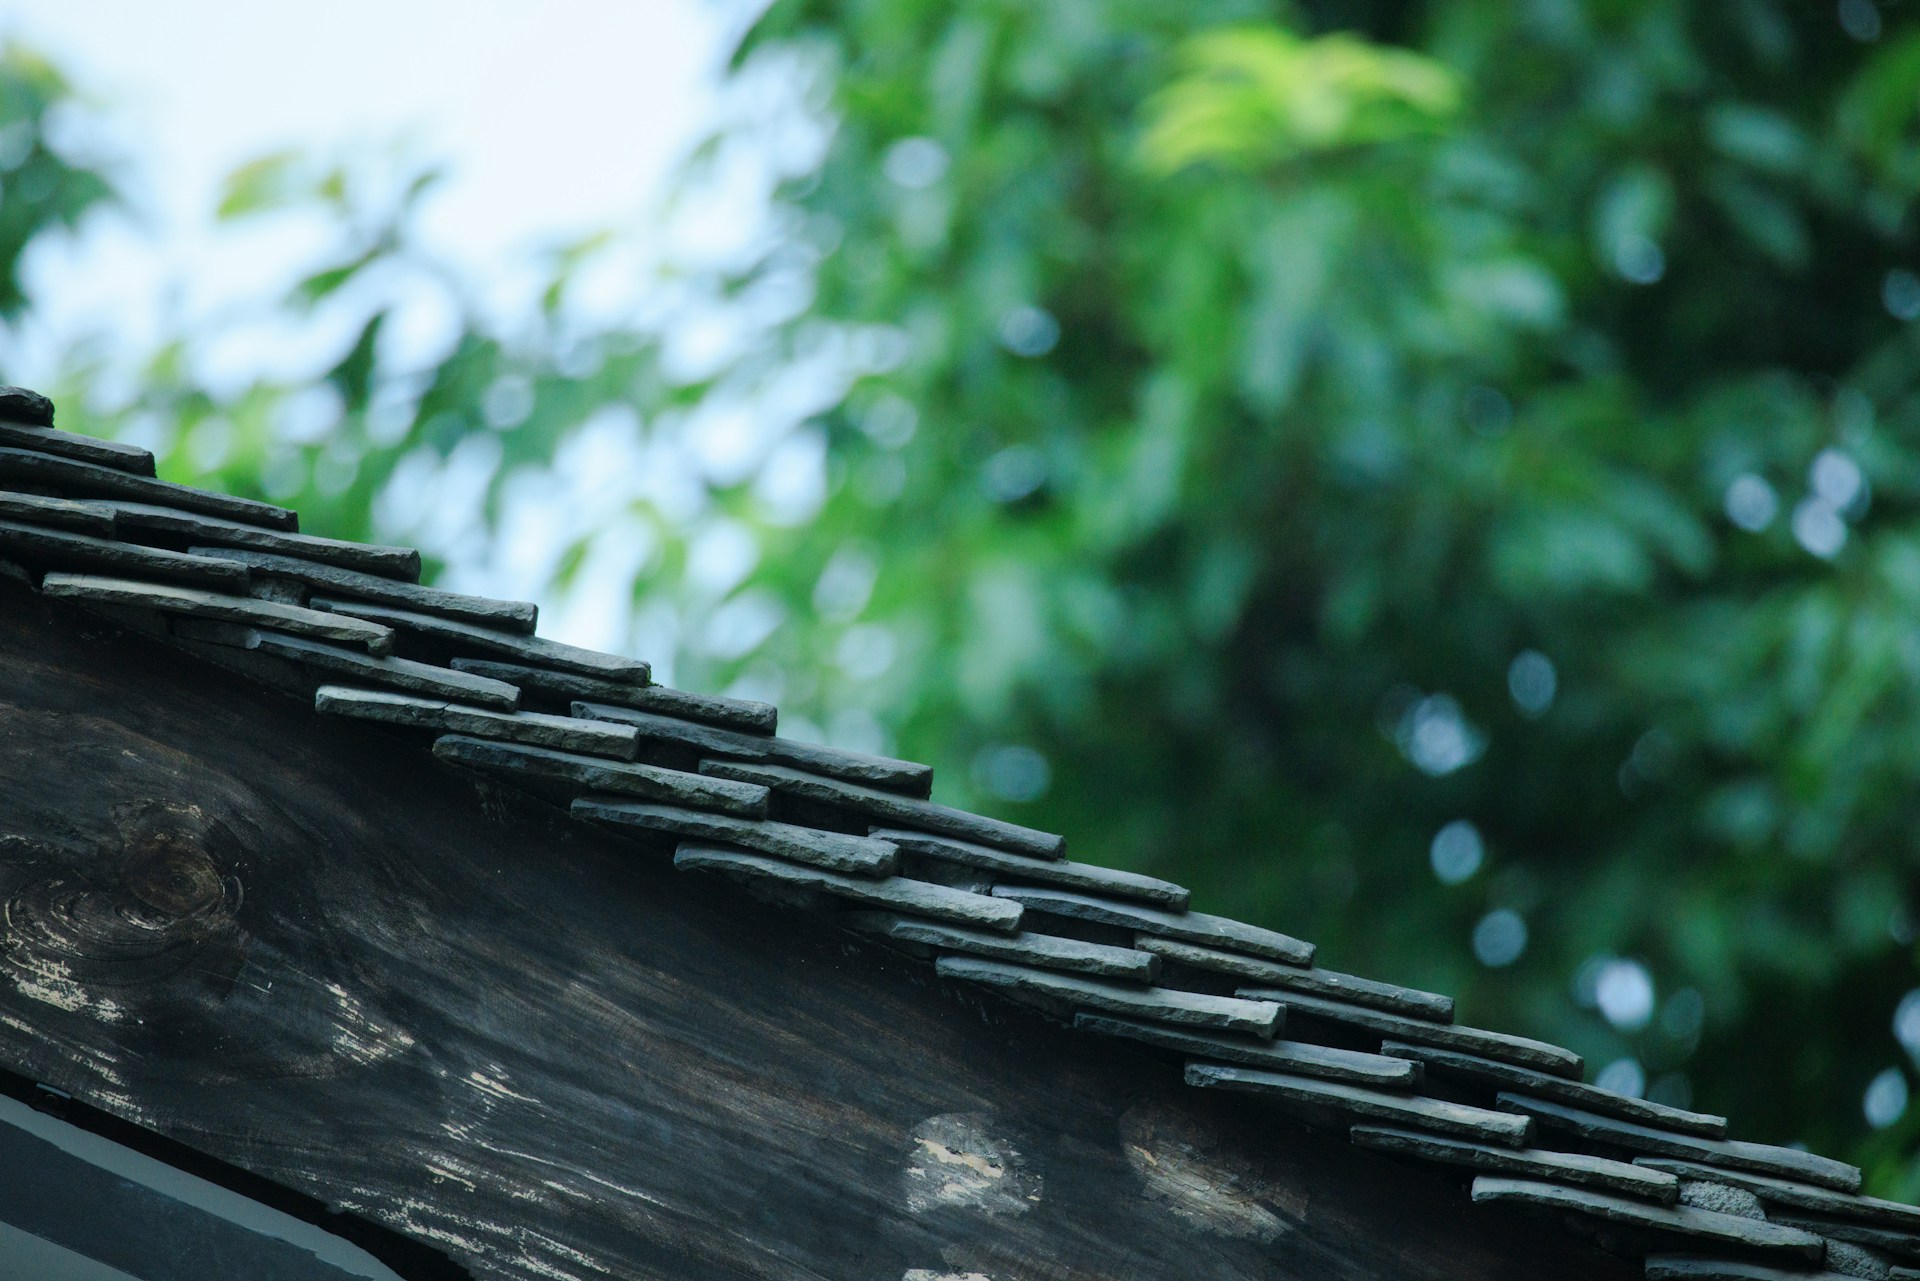
Slope and Pitch Considerations
Pitch affects water runoff, how you fasten slate, and what underlayment you need. Pick a pitch that matches your slate and exposure, then plan framing and flashing around that.
Minimum Roof Pitch for Slate
Most slate needs at least a 3:12 pitch to shed water reliably if you use the right underlayment and nailing. Sometimes, with thicker or gray slates, you can go as low as 2.5:12, but only if you double up on underlayment and lap everything carefully.
If you're going below 3:12, you'll need special systems: waterproof membranes, tighter fastening, and often narrower slate courses. With reclaimed slate, check thickness and condition before you try a lower pitch. Have your roofer confirm slate quality and nail length for the pitch.
Drainage and Water Shedding
Steep roofs (6:12 and up) shed water and snow fast, which means less freeze–thaw stress. That helps prevent leaks at laps and flashings. But steep roofs are harder to work on and need solid fastening.
Valleys, hips, and eaves all need clear fall paths and a full underlayment. Use metal flashing sized for your pitch, and put drip edges in to stop water from sneaking under slates. On lower slopes, add extra waterproofing at rakes and eaves to catch any water that gets past the slate.
Impact of Pitch on Longevity
Higher pitch usually means your slate lasts longer. Less standing water and debris means slower nail and slate bed wear. If pitch, slate, and installation all line up, you'll get good service life.
Lower pitches mean more maintenance: you'll have to check flashings more often and might need to replace underlayment sooner. If you're using reclaimed from Reclaimed Slate Roofing, match slate thickness and condition to the pitch or you'll be back up there fixing things too soon.
Reinforcement and Bracing
You can't cut corners on framing when you're putting up heavy slate. Focus on proper joist and rafter spacing, solid connections, and a plan for reinforcing older structures if needed.
Joist and Rafter Spacing
Slate can weigh 700–1,500 lbs per square (100 sq ft), depending on thickness and type. Keep joist spacing at 12"–16" on center for standard slate; anything wider risks sagging and broken tiles. Use #2 or better lumber, and size your members for the span and load—check span tables or get an engineer if you're over 12 feet.
Solid blocking between joists at midspan helps on long runs. Rafter or collar ties control roof thrust. Fasten battens and underlayment to good sheathing—thin boards alone won't cut it. Mark load paths on your plans so everything transfers weight safely.
Upgrading Older Structures
Check old framing for rot, bugs, and sketchy repairs. Replace bad joists with new, equal-or-better lumber. If you can't swap them out, sistering joists or adding new beams underneath works.
For big spans or historic homes, consider a ridge beam or steel I-beam to cut down on rafter span and sagging. If you're adding heavy reclaimed slate, make sure roof ties and wall connections meet current code. Document all reinforcements so roofers know where to attach slate and avoid extra risk.
Attachment Methods
You need tough, corrosion-resistant fasteners and clean flashing details to tie your slate to the roof structure without stressing the frame. The right fastener, spacing, and flashing details will keep leaks away and tiles stable.
Nailing and Fastener Selection
Go with copper or stainless nails, 12–14 gauge, long enough to go through the slate and at least 3/4" into the sheathing (or use a slate hook if needed). Skip galvanized nails on reclaimed slate—the zinc dies off faster and can stain the stone.
Set nails just below the slate surface so the head's covered by the next course. Stick with the usual headlap and exposure—3 1/2" to 5 1/2" depending on thickness. Each tile should get two fasteners near the top edge, or one nail and one hook for bigger tiles.
Toss any slate that cracks at the nail hole. Pre-drill hard slates to cut down on breakage. Keep spare reclaimed tiles of matching thickness handy to keep the load even.
Flashing Integration
Use copper, lead-coated copper, or lead for flashings—skip aluminum, it doesn't age well with slate. Step, chimney, and valley flashings should sit over the underlayment and tuck under the adjacent slate where you can.
Tie flashings into the roof with counter-flashing at walls and at least a 4" turn-up at abutments. For valleys, use open metal with a liner and course layout that pushes water where you want it. Fasten flashings to framing, not just sheathing, and use mechanical laps over heavy sealants.
At penetrations, use custom-formed flashing pieces and a continuous apron under the slates above. Keep flashings accessible for future repairs and match metal types to your reclaimed slate to avoid weird corrosion issues.
Thermal and Moisture Movement
Slate moves with temperature, and roofs collect moisture. You need a plan for both, or you'll have cracked tiles and soggy framing before you know it.
Expansion and Contraction
Slate itself doesn't expand much, but metal nails, battens, and the deck do. Use slotted nail holes or hooked clips so things can move a bit without cracking the tiles.
Keep joints consistent. Leave enough headlap and sidelap so tiles can shift without exposing the deck. On long runs, add expansion gaps at plane changes or long eaves to lower stress on slates and flashings.
With reclaimed slate, expect some size and thickness variation. Sort reclaimed pieces before you start to keep movement and bending to a minimum.
Ventilation Needs
Ventilation keeps moisture and temperature in check under the slates. Set up continuous soffit intake and ridge or high exhaust vents—aim for at least 1/300 of the roof area as free vent space. If you've got extra insulation or a low slope, bump up the venting.
Use a breathable underlayment and, if you can, a ventilated airspace above the deck. That airspace dries condensation and keeps attic temps down in the summer, which helps your fasteners and sealants last longer.
Don't forget about attic moisture sources. Seal up attic air leaks, add proper kitchen and bath exhausts, and make sure vapor barriers are on the warm side of insulation. Otherwise, you'll risk rot or metal corrosion before the slate even has a chance to wear out.
Durability and Maintenance Factors
Slate can last for decades—if you pick the right grade for your roof pitch, secure the fasteners well, and keep flashings in good shape. Regular access and timely tile replacement help keep small problems from turning into big, expensive leaks.
Inspection Access Points
Set up safe, reliable ways to check your roof and test for moisture. Permanent hatches or rooftop walkways at valleys and ridges make it easier to reach trouble spots without stepping directly on the slate. Walking on slate really focuses your weight in one spot, so only use reinforced paths or roof ladders with padded hooks.
Check flashings, vents, and chimney bases every spring and after storms. Look for loose tiles, rusty nails, and cracked or flaking slate. Jot down locations and dates on a simple roof map—you’ll notice patterns if the same spots keep acting up.
Keep your gutters clear and add leaf guards where debris piles up. Clogged gutters let water back up under the eaves, soaking the underlayment and speeding up rot or rust in the flashings.
Slate Tile Replacement
Match replacement slate by thickness, color, and bed size to avoid uneven spots or water traps. Reclaimed slate usually gives the best match; Reclaimed Slate Roofing can help you find the right pieces for historic projects. Use copper or stainless-steel nails that fit the slate thickness so they don’t pull through or rust out.
To remove broken tiles, cut old nails with a slate ripper or the right pry bar. Slide the new tile under the row above and fasten it with two nails, leaving a 3/8" gap above the nail head so the slate can move naturally. If the area’s brittle or has a bunch of tiny cracks, swap out the nearby tiles too.
Only seal where it’s actually needed; don’t use coatings everywhere, since they can trap moisture. After repairs, check that flashings are tight and run a hose test from the eaves up to make sure your patch is watertight.
Design Adaptations for Modern Codes
Modern seismic and wind codes can get strict, so you’ll want solid strategies that don’t overload your roof. Use tested fastening patterns, review load paths, and consider lightweight options when needed.
Seismic Considerations
In earthquake-prone areas, you need to keep slate from sliding or falling. Stainless-steel or copper clips, spaced as the code requires, should fasten slates into solid sheathing or a rated substrate. Anchor lines and eave restraints must tie into the roof framing so lateral forces go straight to the structure.
Check your local code or engineering report for uplift and lateral load values. Where needed, add blocking at hips and valleys and use mechanical fasteners at the top and middle of each slate to cut down on breakage during shaking. Flashings, chimneys, and roof penetrations need extra attention; flexible counterflashing and properly tied flashing help reduce failure points.
If your roof framing is old, get a structural engineer to check the rafters, trusses, and connections. For retrofits, lighter synthetic slate can lower seismic mass but still look authentic. Reclaimed Slate Roofing can provide vetted materials and advice for historic restorations that need to meet code.
Wind Uplift Resistance
Wind codes really care about how everything’s attached and how edges are detailed. Use manufacturer-tested attachment schedules or stick to ASCE 7 uplift tables for your wind speed and exposure. Go with corrosion-resistant fasteners, and make sure they connect both the slate and the deck or battens below.
Reinforce eaves, rakes, and ridges with wide metal edge clips, screws into blocking, and continuous nailers. Add a secondary water barrier and interlayment rated for wind-driven rain behind the slates in case a tile gets lifted. In windy regions, use more clips and space them closer together—sometimes up to two or three per slate row at the top.
Document your attachment pattern and materials on the plans so inspectors can check compliance. If you use reclaimed or lightweight synthetic slates, provide product data on their uplift resistance. Matching your materials and fasteners to the required uplift loads can save time on permitting and cut down on callbacks.
Environmental and Sustainability Aspects
Slate roofs can seriously reduce long-term waste and lower how often you need to replace materials. Choosing reclaimed slate and eco-friendly underlayments lessens quarry demand, keeps old stone useful, and shrinks your roof’s environmental footprint.
Material Sourcing
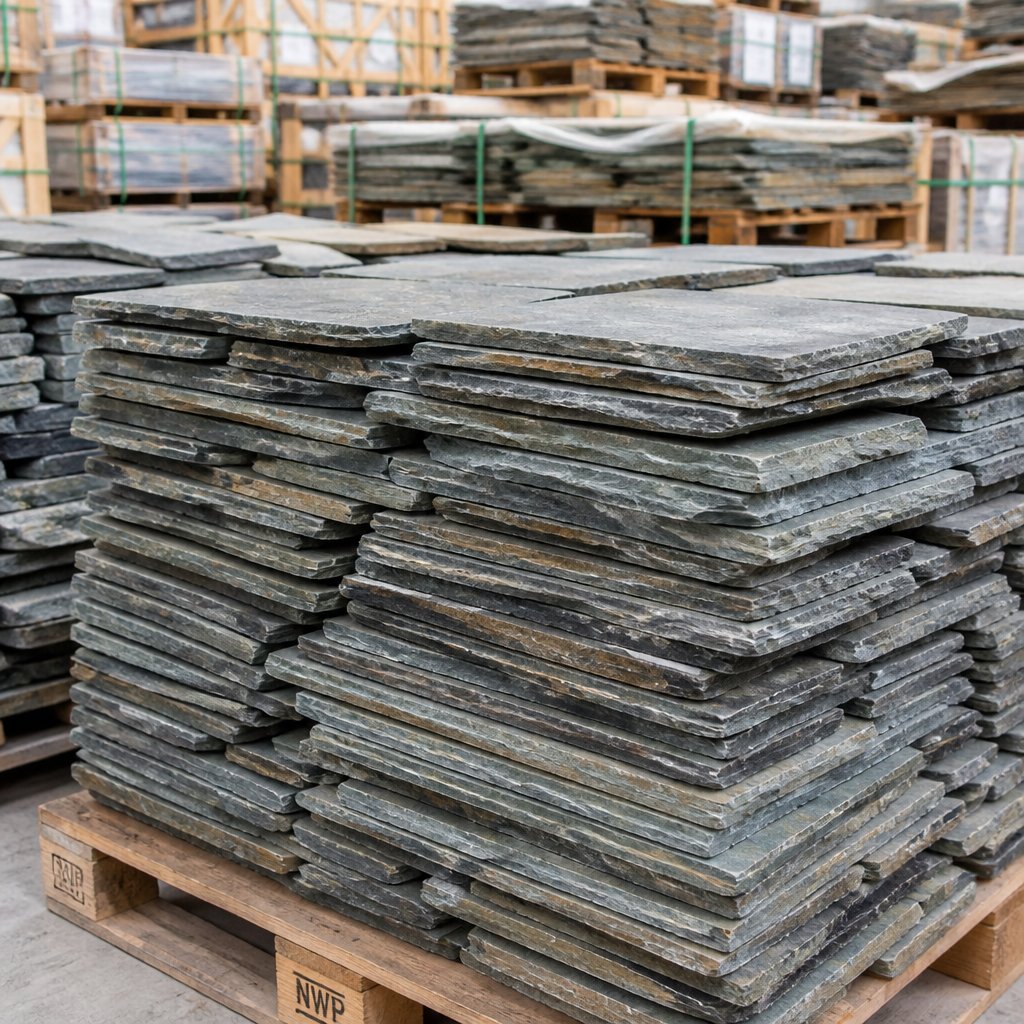
Whenever possible, go with reclaimed slate. These tiles come from old buildings, so you avoid new quarrying and save raw materials—not to mention cutting the carbon tied to extraction.
Check reclaimed slate for soundness, thickness, and consistent bed size. Ask about provenance and testing so you know if it meets structural and fire codes. Reclaimed Slate Roofing can supply job-ready, vetted material if you need a reliable source.
If you go with new slate, look for certified quarries that use responsible extraction. Local supply is better for cutting freight emissions. Slate costs more upfront, but its long lifespan often balances out the initial expense.
Eco-Friendly Underlayments
Choose breathable, durable underlayments—they protect your roof structure and can help with energy efficiency. Synthetic underlayments with vapor-permeable layers let moisture escape and resist tearing during install.
Natural felt alternatives made from recycled fibers are worth a look if your local code and roof slope allow. Make sure the underlayment can handle UV and heat—cheap products break down fast and force early replacement, which kind of defeats the purpose.
Use good installation details: proper ventilation, the right fasteners, and correct flashing. These steps help your underlayment last and lower your roof’s environmental impact over the years.
Build It Right Before You Install It
Slate roofing performs when the structure behind it is built to carry the load. If the framing, decking, and load paths are not right, even the best slate will fail early.
Start with the basics. Confirm total roof load, including slate, underlayment, and environmental factors like snow. Make sure rafters, joists, and load-bearing walls are sized correctly and tied into the foundation. Upgrade weak points before installation, not after problems show up.
Decking and moisture control matter just as much. Use solid sheathing, proper underlayment, and a ventilation system that keeps the roof dry over time. Match your roof pitch to the slate you are using, and adjust fastening methods to suit both slope and material thickness.
Reclaimed slate adds another layer of planning. Variations in thickness, size, and condition require careful sorting and proper installation techniques. When handled correctly, it delivers proven durability and a finish that cannot be replicated with new materials.
For reliable results, work with materials that are already inspected and job-ready. Reclaimed Slate Roofing supplies authentic reclaimed slate with verified specs, helping you plan loads, streamline installation, and avoid delays.
Get the structure right first. The slate will do the rest.
Frequently Asked Questions
Here’s a rundown of questions about detailing, materials, common failures, costs, performance, and safety when working on slate roofs. We’ll focus on things like load, flashings, fastening, longevity, and practical jobsite steps.
What should be considered when detailing a slate roof?
Focus on flashing at valleys, chimneys, and eaves to stop leaks. Use corrosion-resistant metal and step flashing where slate meets vertical walls.
Make sure the deck has enough slope and the underlayment is breathable. Solid decking, good underlayment, and the right pitch all help prevent moisture issues and broken slate.
Plan for the weight and how you’ll attach everything. Slate is heavy—double-check rafters and joists, and use the right nails, hangers, and slate sizes for your layout.
In cold climates, add ice-and-water protection. Extend it at eaves and valleys, and size gutters to handle runoff from those smooth slate surfaces.
Can fiber cement slates be used in place of natural slate for roofing?
You can use fiber cement slates if weight is a concern. They’re lighter than natural slate and often mean you don’t need as much structural reinforcement.
Keep in mind, they don’t last as long and usually look more uniform than natural or reclaimed slate.
Check the fire, wind, and warranty ratings. Make sure the product specs fit your local codes and the roof’s expected lifespan before you go with fiber cement.
What are the common issues faced with old slate roofs?
Broken or slipped slates happen a lot, usually from hail, walking, or failing nails. Check for cracks and missing tiles after storms and during regular maintenance.
Rusty fasteners and bad flashings cause leaks. Old nails can rust or loosen, and flashing seams might need resealing or replacing.
Rot in the deck below old slate shows up where leaks have lingered. Watch for soft spots in the attic and replace damaged sheathing before re-roofing.
How does the cost of a slate roof compare to other roofing materials?
Slate costs more upfront than asphalt, metal, or single-ply systems. Materials are pricier, and you need skilled labor because of the weight and installation.
But natural slate can save you money over the long haul. It lasts for decades, so the life-cycle cost is lower than with materials that don’t last as long.
Don’t forget about the cost of reinforcing rafters and handling heavy delivery—those can bump up the initial project bill.
What specific qualities make slate suitable for roofing applications?
Slate is dense, weather-resistant, and fireproof. These qualities give it a long service life and solid resistance to wind and freeze-thaw cycles.
Slate sheds water and shrugs off moss and mold. When installed right, it keeps water out and doesn’t need much routine care.
Reclaimed slate brings genuine patina and proven durability. You can get historic pieces from Reclaimed Slate Roofing that are inspected and ready for reuse.
Is it safe to walk on a slate roof during installation or maintenance?
Walking on slate? Honestly, it's pretty risky—tiles can crack easily, and you could get hurt. If you don't have experience with slate, it's best to stay off and let a trained roofer handle it.
Roofers usually use ladders, canvases, or staging to spread out their weight. They work from secure platforms and try not to step right on the tiles.
It's smart to wear the right shoes and set up fall protection—think tie-off points, harnesses, maybe even guardrails if the job's big. Even pros don't skip these steps.