Matching slate tile dimensions is essential for maintaining the appearance and performance of a historic roof. Accurate measurements of length, width, thickness, headlap, and exposure allow you to source reclaimed tiles that fit correctly and integrate seamlessly with existing courses.
This article explains how to measure existing slate, identify common size variations, and select reclaimed materials that align with original specifications. The focus is on practical methods that reduce guesswork and ensure consistent installation.
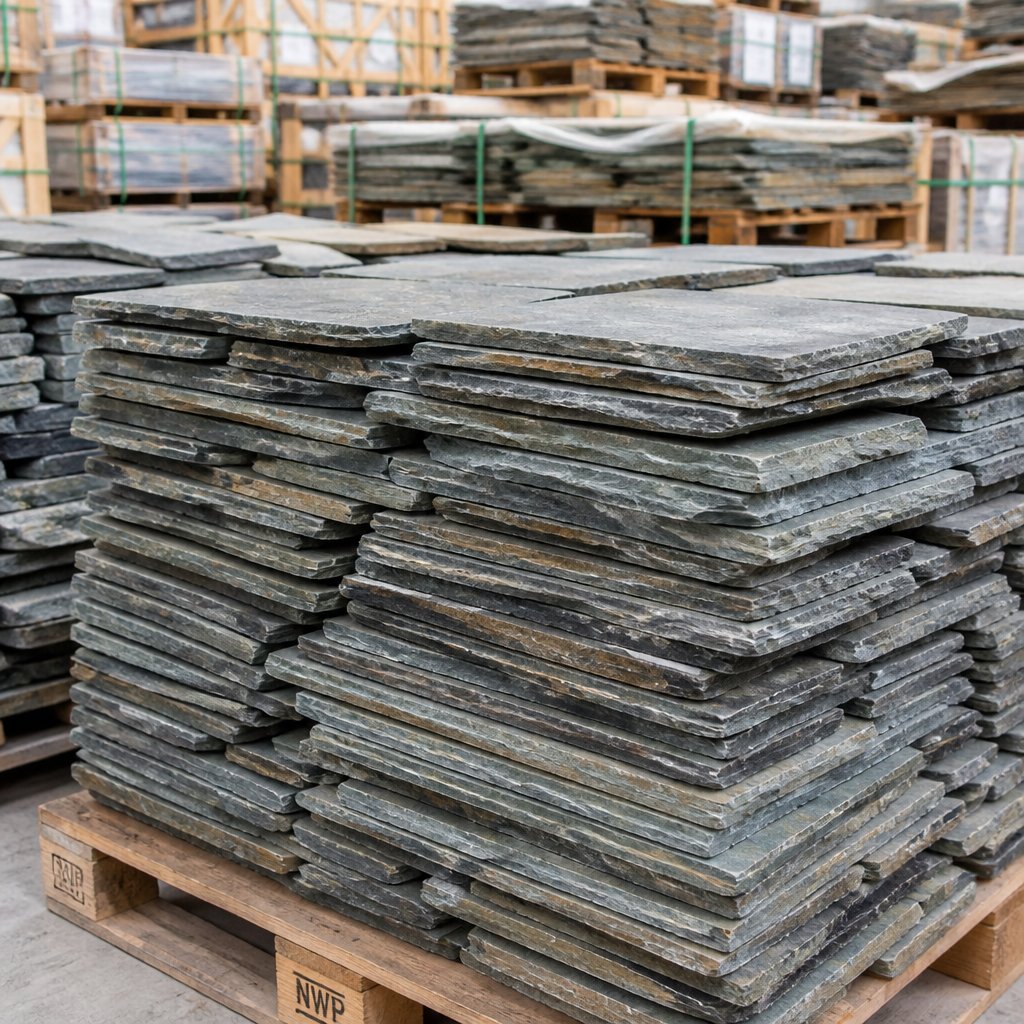
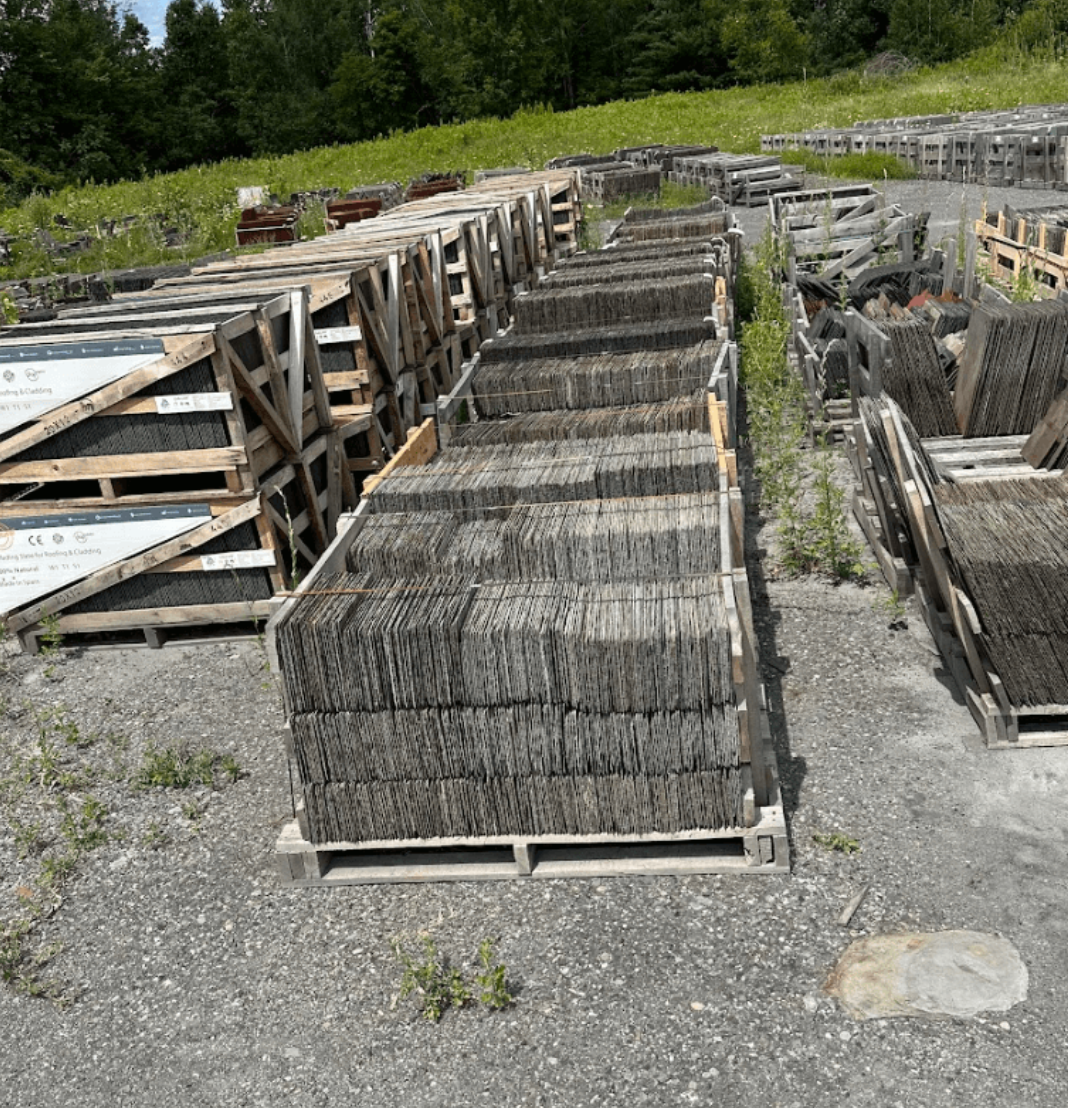
Reclaimed Slate Roofing supplies reclaimed slate that is inspected, cleaned, and sorted by size, thickness, and grade. Materials are prepared for consistent installation, helping contractors and property owners match existing roofs accurately while minimizing on-site adjustments and delays.
Slate Tile Dimensions
Knowing the slate sizes, usual thickness ranges, and whether you’re dealing with metric or imperial measurements helps you get the right pieces and match historic roofs.
Standard Sizes of Slate Tiles
Most slate tiles come in 12 x 8 inches or 16 x 10 inches, but you’ll see anything from 9 x 6 up to 24 x 12 inches, depending on age and region. For restoration, focus on the exposed face (the part you see after installation), not just the full length.
Count slates per square foot to estimate how many you’ll need. Usually, it’s 4–6 slates per square foot. Always buy 10–15% extra for cuts, waste, and future repairs. With reclaimed material, expect size variation and sort batches before you start.
If you’re after rare sizes, mention them when ordering—suppliers can pull matching stock. Reclaimed Slate Roofing can help find historic dimensions if you give your roof area and desired exposure.
Slate Tile Thickness Variations
Thickness matters for weight, durability, and how the slate sits. Common thicknesses: about 3/16 inch (5 mm) for thin decorative stuff, up to 3/8–1/2 inch (9–12 mm) for heavier roofing.
Thin slates are lighter and easier to cut, but they might break if you step on them. Thicker ones last longer and stand up to weather, but they add weight and need stronger fasteners. For historic work, match the original thickness to keep the look and roof slope consistent.
When you’re buying reclaimed, check for delamination and chips. Group slates by thickness on-site so crews can keep the roof plane even.
Metric vs. Imperial Measurements
You’ll see both metric (mm, cm) and imperial (inches) in supply lists and old records. In the U.S., older buildings use inches; newer mills or international suppliers go metric.
Convert carefully: 12 x 8 inches is about 305 x 203 mm. Use a conversion table or calculator—rounding errors can mess up your exposure and coverage. Double-check if listed dimensions refer to the whole slate or just the exposed face.
Label your orders with both units if you can. That way, you’re less likely to mix up sizes when reclaimed batches include pieces from different places.
Why You Need Accurate Slate Tile Dimensions in Restoration
Accurate measurements keep your roof looking right, fit tiles properly, and help avoid expensive fixes. Even small differences in length, width, or thickness can mess with alignment, water shedding, and durability.
Matching Existing Slate Tiles
You’ll need to measure length, width, and thickness. Check several tiles across the roof—hips, valleys, eaves—since reclaimed material isn’t always consistent. Record averages and flag any weird outliers.
Match the butt size and the exposure exactly. If new slate is longer or shorter, the courses shift and the roof looks off. If thickness changes, nail placement and fastener depth change, which can cause slipped or cracked tiles.
Order samples or a small test batch first. Lay them out next to originals to check color, texture, and edge before ordering a full shipment from Reclaimed Slate Roofing.
Preventing Alignment Issues
Even a 1/4-inch difference per tile can drift lines across the whole roof. Misaligned courses mean stepped lines, uneven valleys, and poor overlap at flashings, which ups the leak risk.
Stick to a consistent layout based on measured exposure. Mark battens or chalk lines to keep rows straight. If you have to mix sizes, plan transition courses and cut tiles as needed—don’t just force mismatched pieces in.
Check alignment as you go. Fix small offsets right away; waiting just means pulling off more tiles later and wasting materials.
Ensuring Consistent Grout Lines
If your slate roof uses mortar or visible pointing, match the original grout width and depth. Measure the old joints before you start. Keep tools and mortar mixes the same to get the right texture and color.
Use spacers or guide strips to control joint spacing. Consistent grout lines keep water out and maintain the roof’s rhythm. Off-joint patterns stand out and ruin the restoration vibe.
With reclaimed slate, sort tiles into size grades before you start. That cuts down on on-roof adjustments and helps keep grout widths steady across the whole roof.
Methods for Measuring Slate Tile Dimensions
Measure individual tiles, roof area, and overlap to match historic patterns and order replacements that fit. Use precise tools, write down each dimension and variation, and check multiple tiles to capture real differences.
Tools for Measuring Slate Tiles
Use a tape measure marked to 1/16-inch for length and width. A caliper works for thickness and headlap on trimmed edges.
A rigid straightedge or metal ruler helps check straightness and exposed face width. Folding rulers are handy if you’re up on a steep roof.
Bring a digital camera or phone to snap pics of tiles with a scale (ruler or coin) next to them. Mark tiles you’ve measured with chalk or a marker so you don’t double-count. Jot dimensions and locations in a notebook or notes app.
For big jobs, a laser distance meter speeds up measuring roof runs and figuring out how many slates you’ll need.
Recording Slate Tile Measurements
Record for each tile or group: length, width, thickness, exposed face, headlap, and any trimming. Use a simple table: tile ID, L, W, T, exposed face, headlap, location.
Note tile condition, edge type (natural cleft, sawn, ragged), and if tiles are cut for hips or valleys. Add photos labeled with tile ID and measurement.
Keep a running tally of tiles by size and note your waste allowance (10–15% extra is smart). If you’re working with Reclaimed Slate Roofing, add their batch codes to your notes so reorders and matching go faster.
Assessing Variability in Natural Slate
Variation is normal: length and width can differ by up to an inch on reclaimed slates, and thickness may vary even more. Measure at least 10–20 tiles from different spots and elevations to find the common size and the range.
Watch for differences between roof slopes and old repairs; patches often use different sizes or shapes. Record the modal (most common) dimensions and the extremes so you can order the right quantities and set your tolerance.
If you find lots of oddball sizes, plan for trimming or custom flashings. Note what percent of tiles need repair or replacement versus what you can reuse.
Common Challenges With Slate Tile Dimensions
You’ll run into two big measurement headaches: irregular slate shapes that mess up layout, and inconsistent sizes between batches that throw off overlap and coursing. Both lead to waste, flashing problems, and a mismatched look.
Irregular Shapes and Edges
Old slate often has chipped or uneven edges from weather and removal. Getting a straight butt joint and consistent exposure gets tricky. Sort pieces by usable edge, toss the worst, and plan for tighter or looser joints.
Cutting reclaimed slate is pretty common. Use a wet diamond blade or slate cutter to trim for hips, valleys, and eaves. Mark each cut—mistakes waste rare material.
Keep extra slate for tricky areas like ridges and dormers. A 10–15% overage usually covers irregular pieces and future repairs. Label sizes during teardown to save time later.
Size Variations Between Batches
Batch-to-batch thickness, length, and width often don’t match, especially with reclaimed. Even slates labeled the same size can be off by 1/4 inch or more. That changes exposure and can break your running bond.
Measure a sample from each delivery. Make a chart listing length, width, and thickness ranges. Use it to set exposure and nail placement before laying courses.
If you’re buying from Reclaimed Slate Roofing, ask for a size report or samples before going all in. When mixing batches, stagger transitions over hips or valleys to hide small step changes.
Tips for Selecting Slate Tiles for Accurate Restoration
Match color, thickness, and surface texture first. Check for original fastening holes, edge profiles, and any patina that affects appearance. Measure what’s on the roof and order samples before committing.
Sourcing Matching Slate Tiles
Measure a sample of your roof: thickness, length, width, and the exposed portion. Record ranges, not just single numbers—reclaimed slates often vary by 1/8"–1/4" in thickness and several inches in length. Note surface finish (cleft, riven, or sawn) and main colors or streaks. Snap photos next to a ruler in daylight to show true tone.
Look for reclaimed sources that inspect and grade each piece. Ask for lots with consistent thickness and documented origin if you can. If you want historic character, request weathered edges and old nail holes. Reclaimed Slate Roofing offers vetted lots and can ship samples for your approval.
Communicating Requirements to Suppliers
Send a clear spec sheet: length range, thickness range, exposure, gauge (if you know it), and desired surface finish. Include high-res photos with measurements and a note about matching adjoining tiles (left, right, ridge). Ask suppliers to list lot consistency, breakage rate, and finish grading.
Request samples or a small trial pallet before a big order. Specify packaging and delivery timing to fit your schedule. Confirm return or credit terms for mismatched or damaged pieces, and get a written weight and count per pallet to plan handling.
Adapting Restoration Techniques to Tile Dimensions
Match tile size, thickness, and exposure to the repair area before you cut or fasten anything. Small changes in length or headlap can mess with layout, flashing, and underlayment.
Custom Cutting and Trimming
Cut reclaimed slate to fit—but don’t change the roof’s rhythm. Use a diamond blade wet saw or a good slate cutter to score and snap pieces cleanly. Cut along the natural cleft when you can; it chips less and keeps the face consistent.
Trim edges to match course heights so headlap and exposure stay right. For narrow pieces at hips or valleys, keep at least two full fastener points per tile to avoid cracks. File rough cut edges with a rasp to prevent water catch points.
Label cut pieces by course and location, so you don’t lose track during installation.
Adjusting Substrate and Layout
Check the roof deck for flatness and fastening before setting tiles. Reclaimed slate varies in thickness, so shim or sister decking where tiles rock or sit high. Use 3/8" plywood or furring strips under low spots to keep things even.
Dry-lay a row to confirm exposure and headlap. If reclaimed tiles are shorter or longer than originals, recalculate exposure: Exposure = tile length − headlap. Keep exposure consistent to avoid stepped courses and water leaks.
Use corrosion-resistant nails sized for thicker slate. Place fasteners the right distance from edges to avoid splitting.
Maintaining Precision During Slate Tile Installation
You want tight spacing, straight lines, and level courses to match historic roofs and make sure water sheds right. Tiny errors in placement or pitch show up fast and can weaken the roof over time.
Using Spacers and Guides
Stick with spacers that match the original joint width you’re aiming for. With reclaimed slate, you’ll want to measure a handful of tiles and pick a spacer that fits the usual gap—older roofs often land somewhere between 1/8" and 1/4". Mark out your rafter lines and snap chalk lines every few courses so your guides don’t disappear as you move along.
Lay down a temporary straightedge or metal batten along the eaves and hips to help line up the tile tails. Keep your tiles stacked on pallets close to the roof edge—less hauling means less chance of chipping. If you’re working with tiles that run thick or thin, or vary in width, sort them first; each course goes smoother if you use pieces that match up. For repairs, try to match the old joint width and headlap instead of just defaulting to modern measurements.
Checking Level and Alignment
Every couple of courses, check your level and alignment—don’t wait until you’re done. Grab a long level or a laser line to make sure the rows stay true across the rafters. Take a look from below and from different angles; even a small bow stands out when you see it at eye level.
Keep an eye on the headlap and exposure as you go. Use a tape or gauge to check vertical spacing and keep things even. If you spot a tile that’s off, just pull and reset that course. Trying to force a fix higher up the slope usually backfires. If you need to swap out any pieces, Reclaimed Slate Roofing can track down tiles that match.
Final Checks for Restoration Accuracy
Once you’ve got the tiles in place, measure them against your original records. Use a tape and square to double-check width, length, and headlap. If a piece falls outside your tolerances, make a note.
Look at the color and texture under natural light. Snap some photos and put sample tiles next to the roof—mismatches show up fast that way.
Check alignments and coursing with a straightedge. Even small offsets add up, so fix them before you lock the slate down.
Make sure your fastening pattern and spacing line up with historic methods. Take a look at nails, clips, and underlayment to see if they really fit reclaimed slate.
Keep a punch list for any odd tiles or tricky cuts. Label and set aside the weird ones—you’ll want to find exact matches later.
Record final dimensions and photos for your project file. It’ll save you a headache if you need repairs down the road and helps keep the restoration honest.
If you’re using Reclaimed Slate Roofing material, double-check that each piece got inspected and cleaned like they promised. Mark any batches that look like they’ll need extra trimming or fitting.
Accurate slate tile dimensions are what keep a restoration looking right and performing as it should. When length, width, thickness, headlap, and exposure all line up with the original roof, you avoid alignment issues, reduce waste, and maintain proper water shedding across every course.
Taking the time to measure carefully, account for natural variation, and source consistent reclaimed material makes installation far more predictable. It also ensures repairs blend seamlessly instead of standing out.
With properly sorted and dimensionally matched slate—like the materials supplied by Reclaimed Slate Roofing—you can move from measurement to installation with confidence. The result is a roof that stays true to its historic character while delivering long-term durability.
Frequently Asked Questions
Here’s where you’ll find details on sizes, overlaps, joint offsets, widths, thickness, and even what causes slate to delaminate. Handy if you’re matching an old roof or ordering reclaimed tiles.
What is the typical size of a slate tile used in restoration projects?
Most reclaimed slate tiles come in at 10 x 6 inches or 12 x 8 inches for small- and medium-sized roofs.
On older buildings, you’ll sometimes see bigger panels—think 16 x 10 inches or even 18 x 12 inches.
Always measure your existing roof before ordering. Slate sizes can shift a lot depending on where and when they were made, so nail down those cuts before you buy.
How much overlap is recommended for slate tiles during installation?
Standard headlap (vertical overlap) for slate roofing is 3 inches for tiles up to 10 inches wide.
If your slates are wider or thinner, bump the headlap up to 4–5 inches, especially if your roof is steep or catches a lot of weather.
If you’re in a windy or rainy spot, that extra headlap really helps keep leaks and wind-lift at bay.
What should be the minimum joint offset when laying slate roofing materials?
Stagger butt joints by at least 3 inches from the joints on the course below.
Go for a 4–6 inch offset with bigger slates to avoid stacking vertical joints.
This offset stops water from channeling through and makes the roof stronger overall.
What are the standard joint widths between slate tiles to ensure proper alignment?
Aim for a joint gap of 3/16 to 1/4 inch between adjacent slates when you’re done.
If the gap’s too tight, slates can buckle; too wide, and you’re inviting water and wind in.
Keeping a steady joint width helps the roof shed water and keeps things looking neat.
How is the most common thickness of slate determined for current roofing practices?
Typical roofing slate thickness runs from 3/16 to 1/4 inch for most jobs these days.
Older or reclaimed roofs often use 1/4 to 3/8 inch for more muscle.
Pick thickness based on your roof’s span, how you’re fastening, and the slate’s condition. Thicker slate’s better for long spans or windy spots, no doubt.
What factors lead to delamination in slate shingles over time?
Things like freeze-thaw cycles, sudden moisture shifts, and salt exposure can make the inner layers of slate shingles pull apart.
If the slate's thin or just not great quality, or if someone nailed it wrong in the past, delamination tends to happen even faster.
At Reclaimed Slate Roofing, we actually check and grade each reclaimed piece. That way, you’re less likely to run into surprise failures and can pick material with strong, solid beds that won’t flake apart.