A storm strips forty slates off a 1915 gable, and the client expects the repair to vanish into the rest of the roof. That is the moment most crews learn that knowing how to match old roof tiles is a measuring and sourcing problem, not a shopping problem. The existing roof has aged for a century. Anything you set beside it will be judged against that.
Matching old roof tiles on historic homes and period properties means working backward from physical evidence. You read the tile in your hand, then find stock that shares its size, thickness, profile, and weathering. Homeowners see color first. Roofers know the fit fails long before the color does.
What follows is a step-by-step field process: documenting an existing roof, matching profile and fixing details, reading patina, identifying regional slate varieties, and sourcing reclaimed stock that actually lands on the job. It speaks to the contractor solving a client's matching problem on a live repair, not to weekend DIY.
Document the Existing Roof Before Removing Material
The roof itself is your specification document. Once slates come off and get tossed in the dumpster, the evidence is gone, and you are guessing.
Older roofs rarely carry paperwork. Preservation guidance from the National Park Service on slate roof repair stresses documenting existing conditions with written, visual, and physical evidence before any work starts. That principle applies to every roof repair where matching old roof tiles matters.
Build the record before the tear-off, not after. Roof tile matching goes faster when the supplier receives real numbers instead of a phone description.
Collect a Sound Sample and Record Its Location
Pull two or three intact pieces, not broken corners. Tap each one. A clear ring means sound material; a dull thud means the piece has delaminated. Label every sample with slope, course, and elevation using a marker on the back. Tiles from a north slope look different from south-slope tiles off the same original batch.
Measure Length, Width, Thickness, Gauge, and Exposure
Measure the length and width of several pieces, since many historic roofs use random widths. Take thickness with calipers at the center, not the edge. Then measure the batten gauge and the exposure to the weather. Those two numbers control whether replacements sit flush or ride high.
Photograph Faces, Undersides, Side Profiles, and Maker's Marks
Shoot each sample face-up, face-down, and on edge against a tape measure. The edge shot shows thickness and split character that a face photo hides. Check undersides for stamped names, numbers, or quarry marks. On clay tile, marks often sit near the nib or along one flank.
Map Repair Areas, Roof Slopes, and Earlier Patchwork
Sketch the roof and mark each damaged zone with a square-foot count. Note earlier patches, because a previous repair may already be a mismatch; you should not copy. With dimensions and photos locked in, the next decision is which physical features have to match exactly and which can flex.
Match the Profile and Fixing Details Before Color
Color is what the client notices from the driveway. Profile is what decides whether the repair sheds water for another fifty years.
Matching roof tiles starts with shape and fixing method. A tile that is the right color but the wrong profile will telegraph across the slope in raking light and leak at the laps.
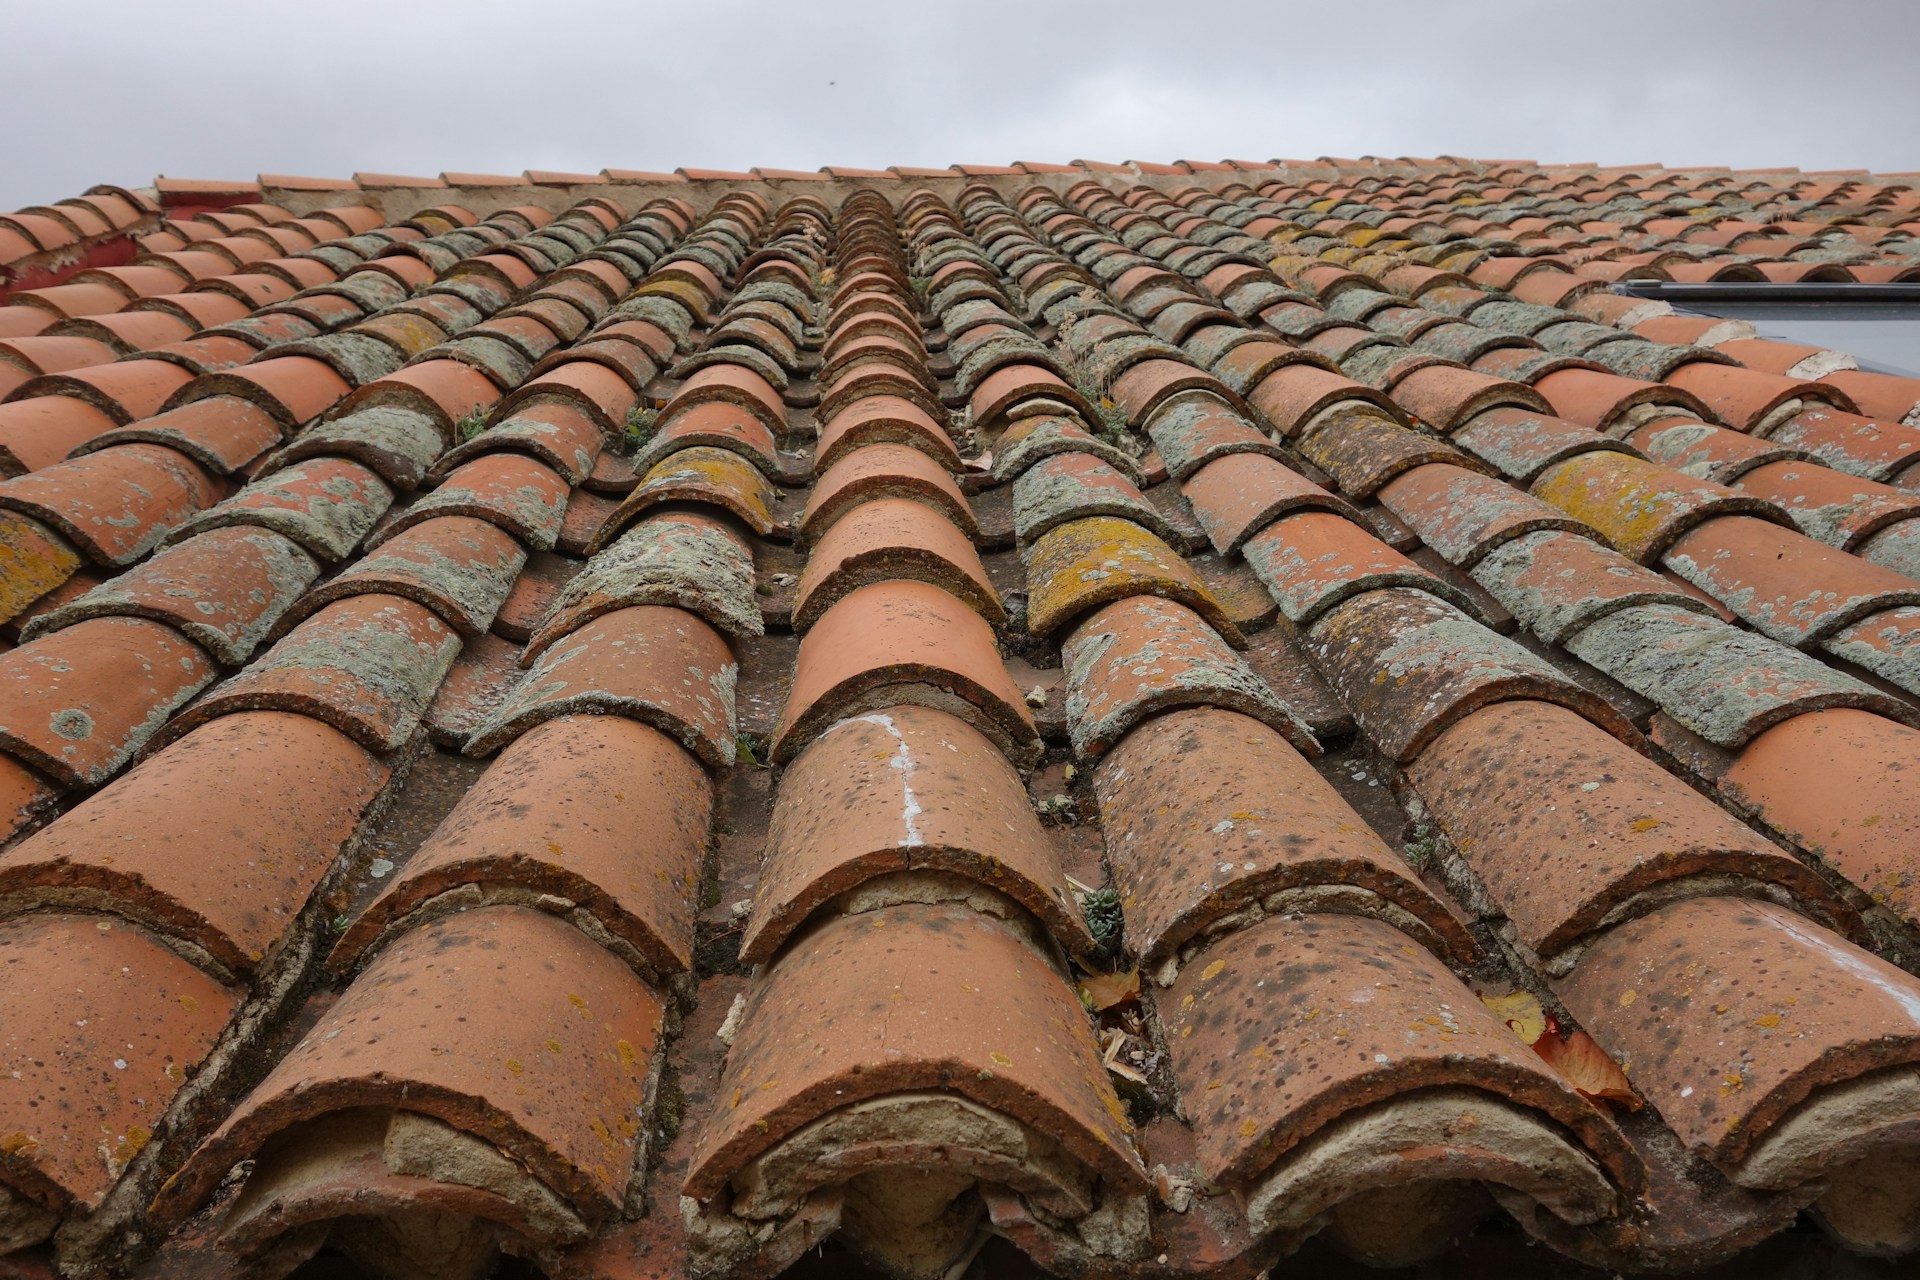
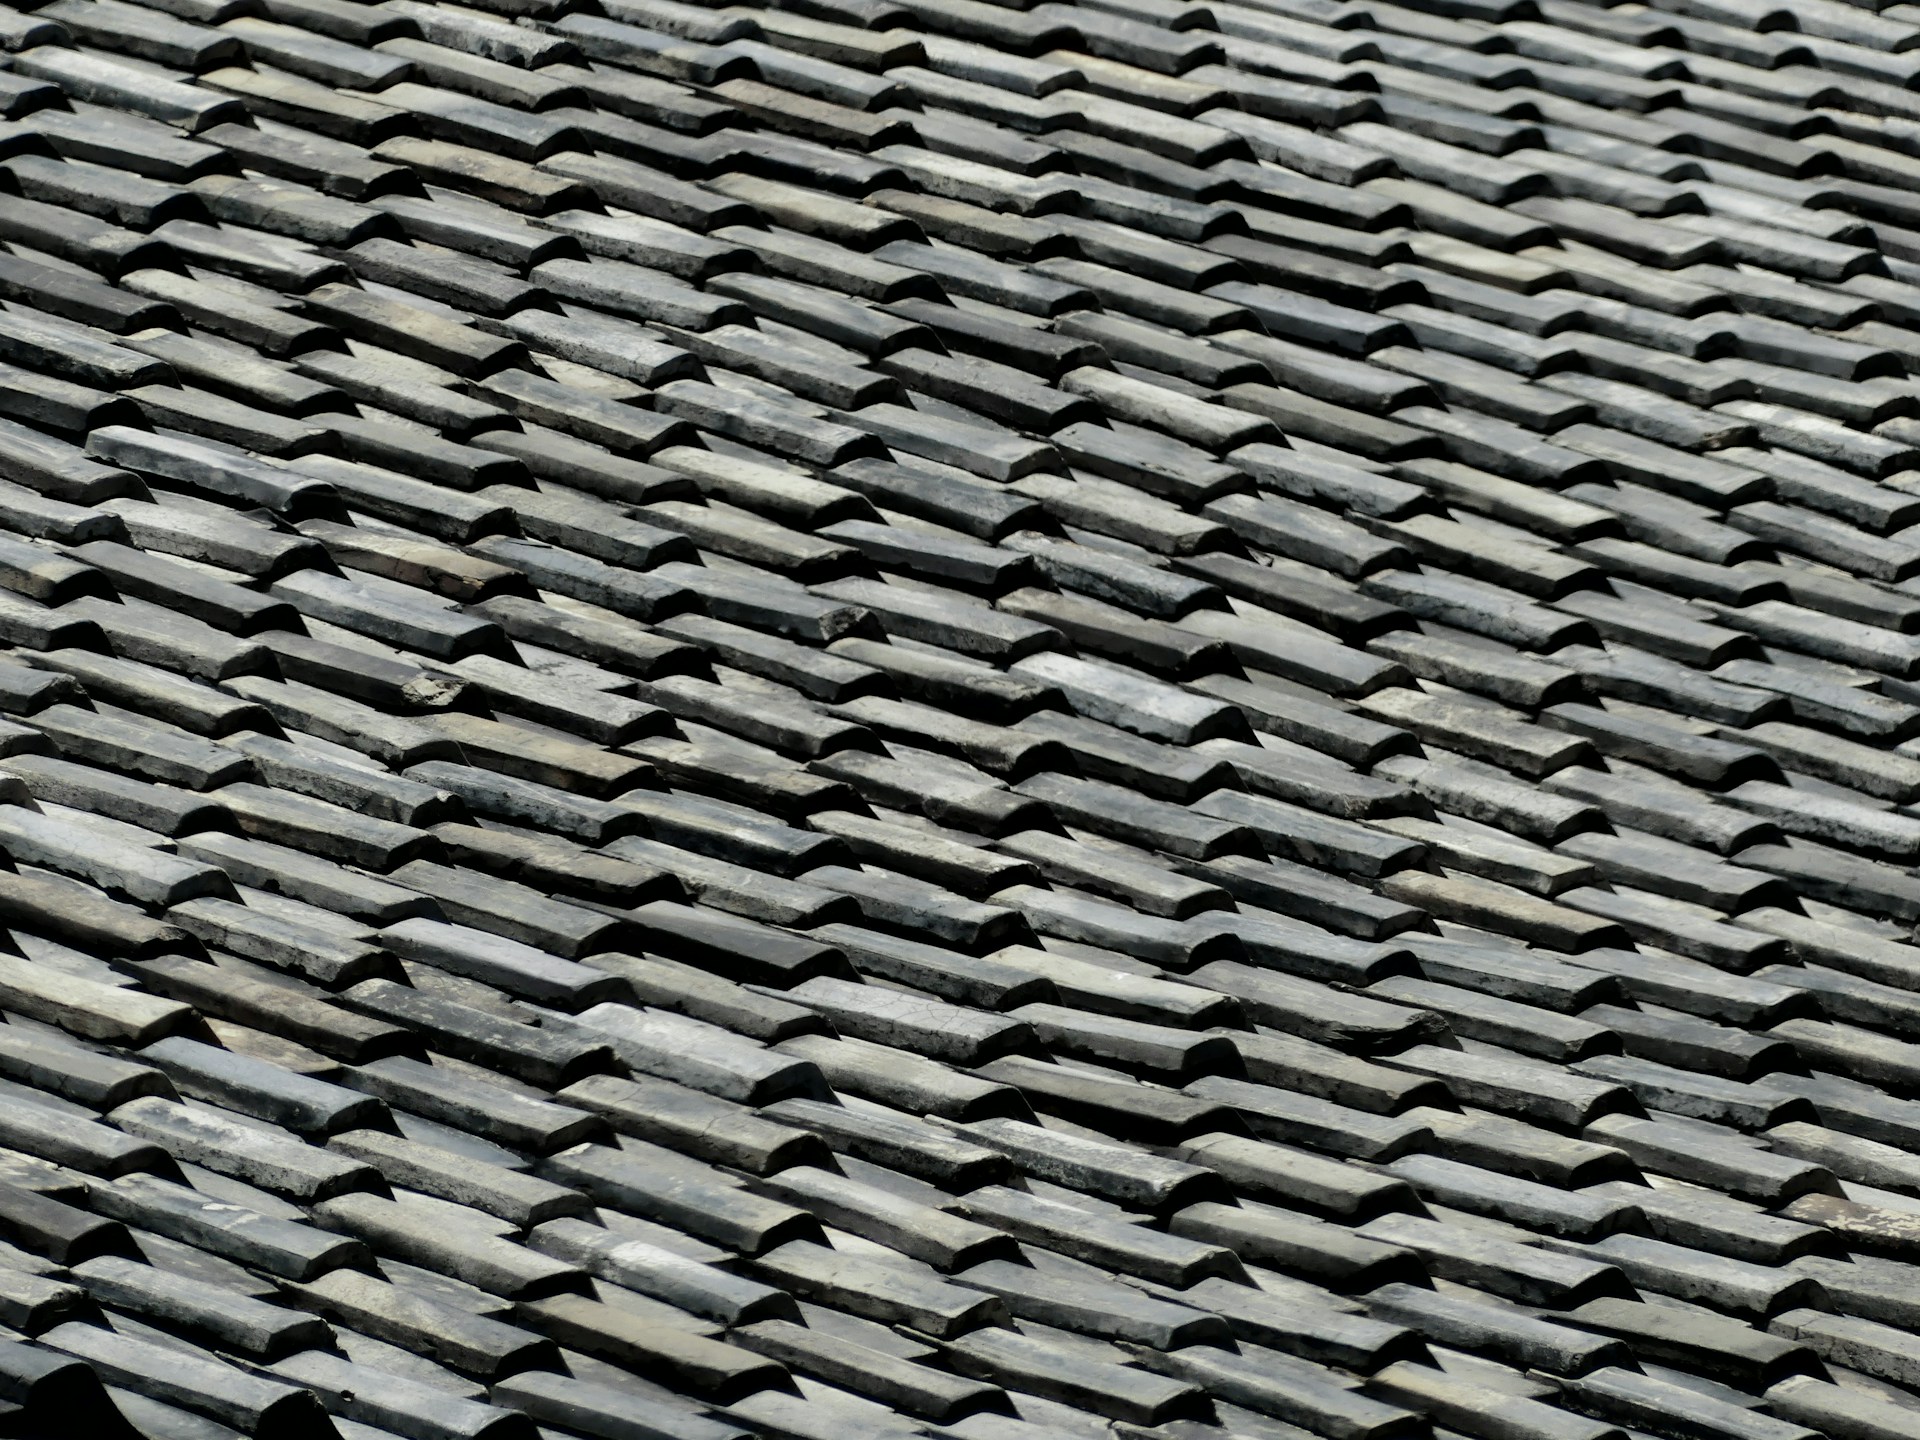
Clay roof tiles complicate this further, since many historic profiles are discontinued roof tiles that no factory has produced in decades. English shingle tile, plain tile, and pantile formats all vary by maker and era.
Check Interlocks, Nibs, Nail Holes, and Watercourses
Interlocking clay tiles only work with a mate cut to the same locking geometry. Measure the channel depth and the flank overlap before ordering.
- Nib depth and shape: which decide how the tile hangs on the batten
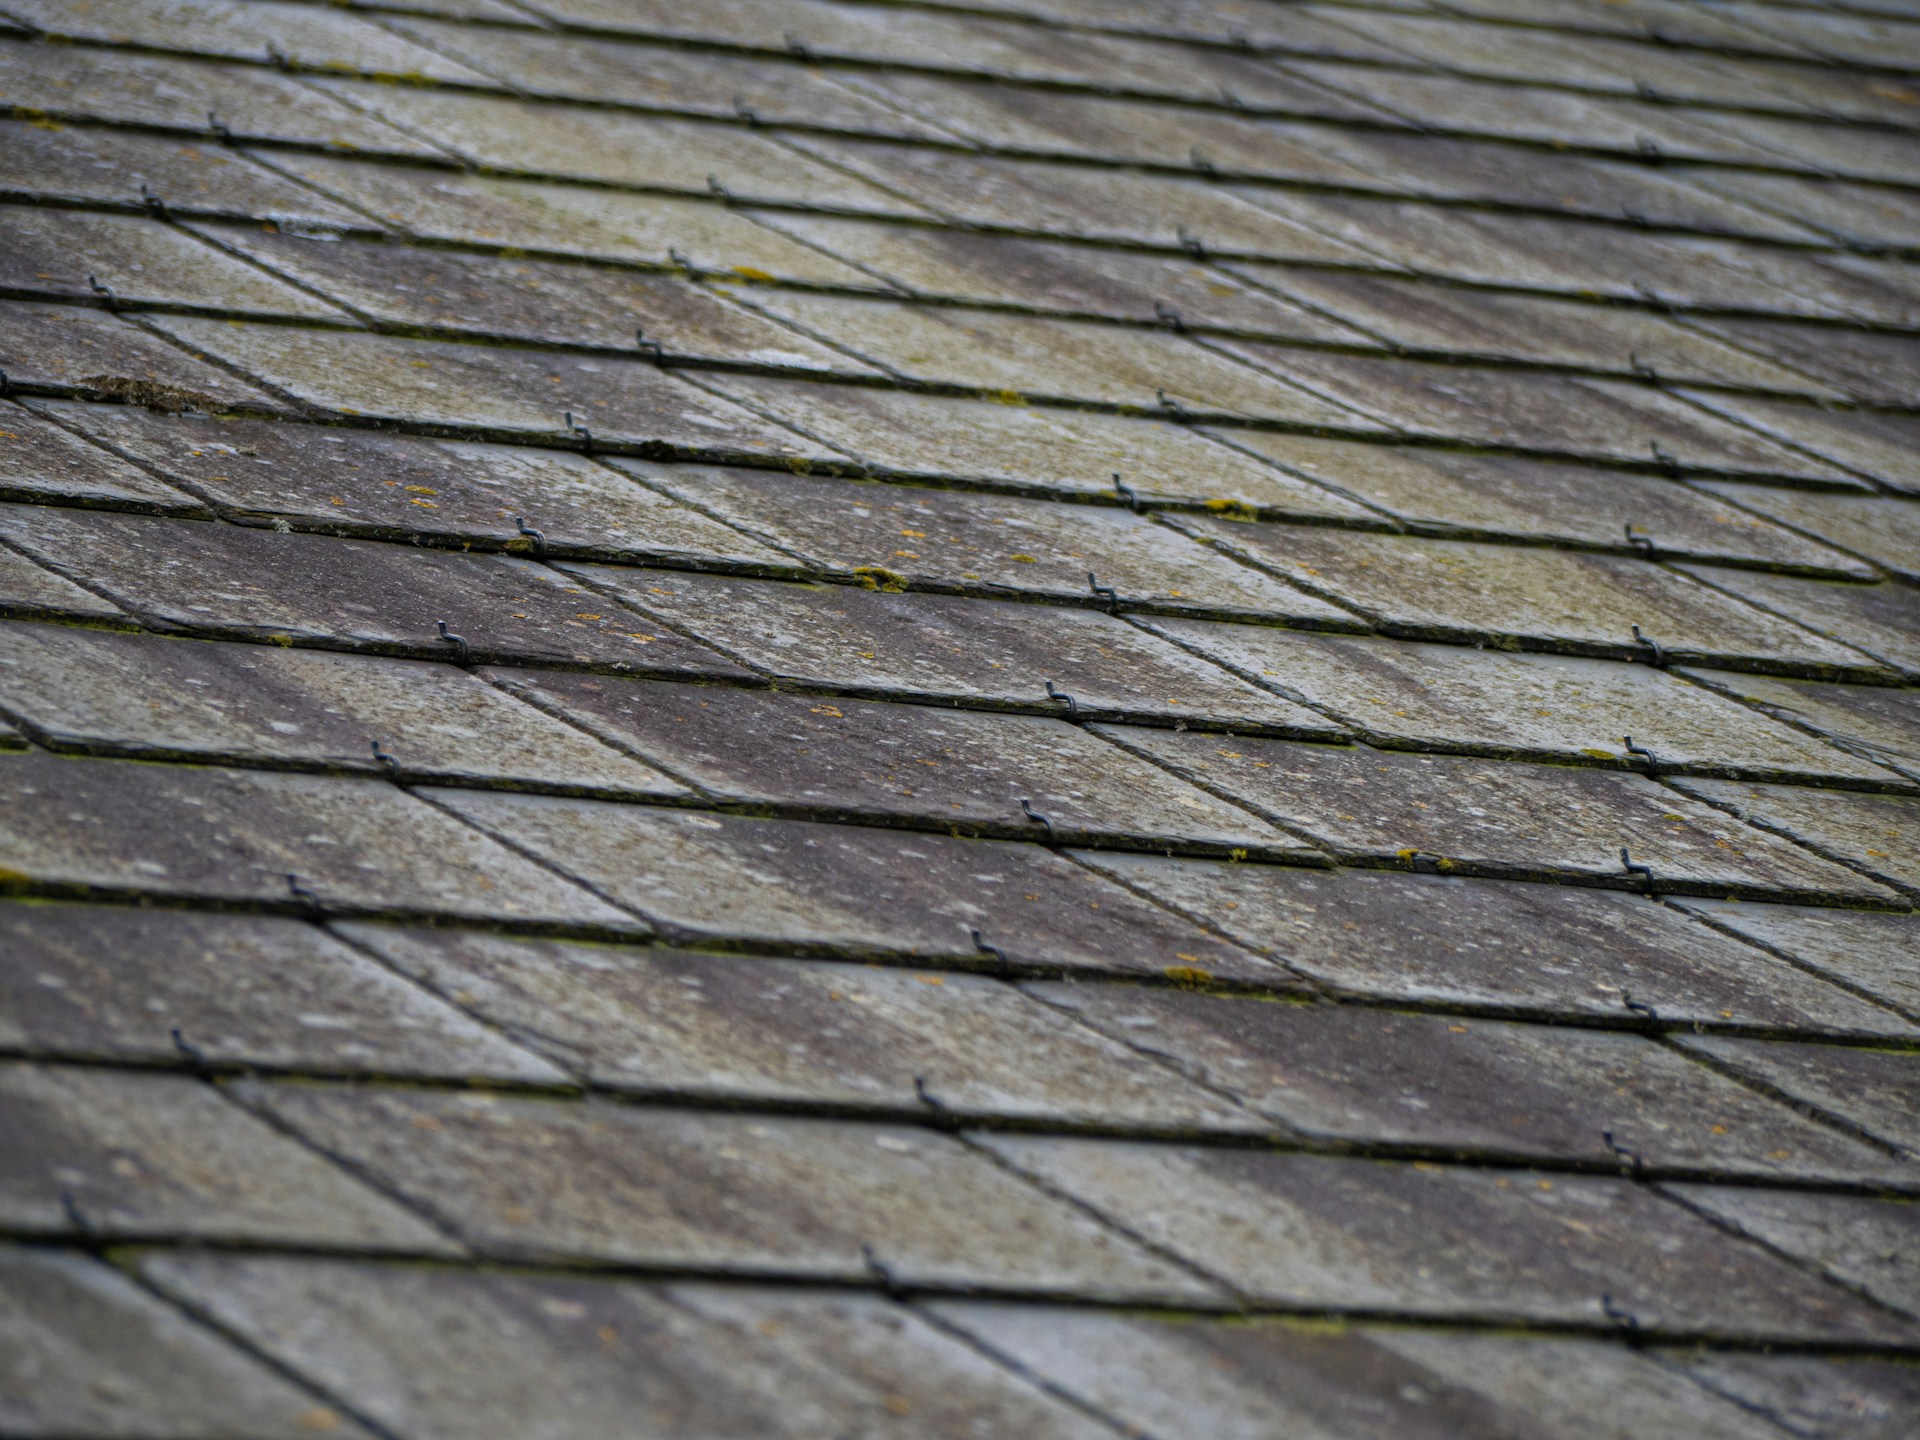
- Nail hole count and position: punched versus drilled on slate
- Watercourse or channel width on interlocking clay profiles
- Head and side lap dimensions on the existing courses
- Tail edge shape: square, round, or clipped
Compare Flat, Shingle, Barrel, and Interlocking Tile Profiles
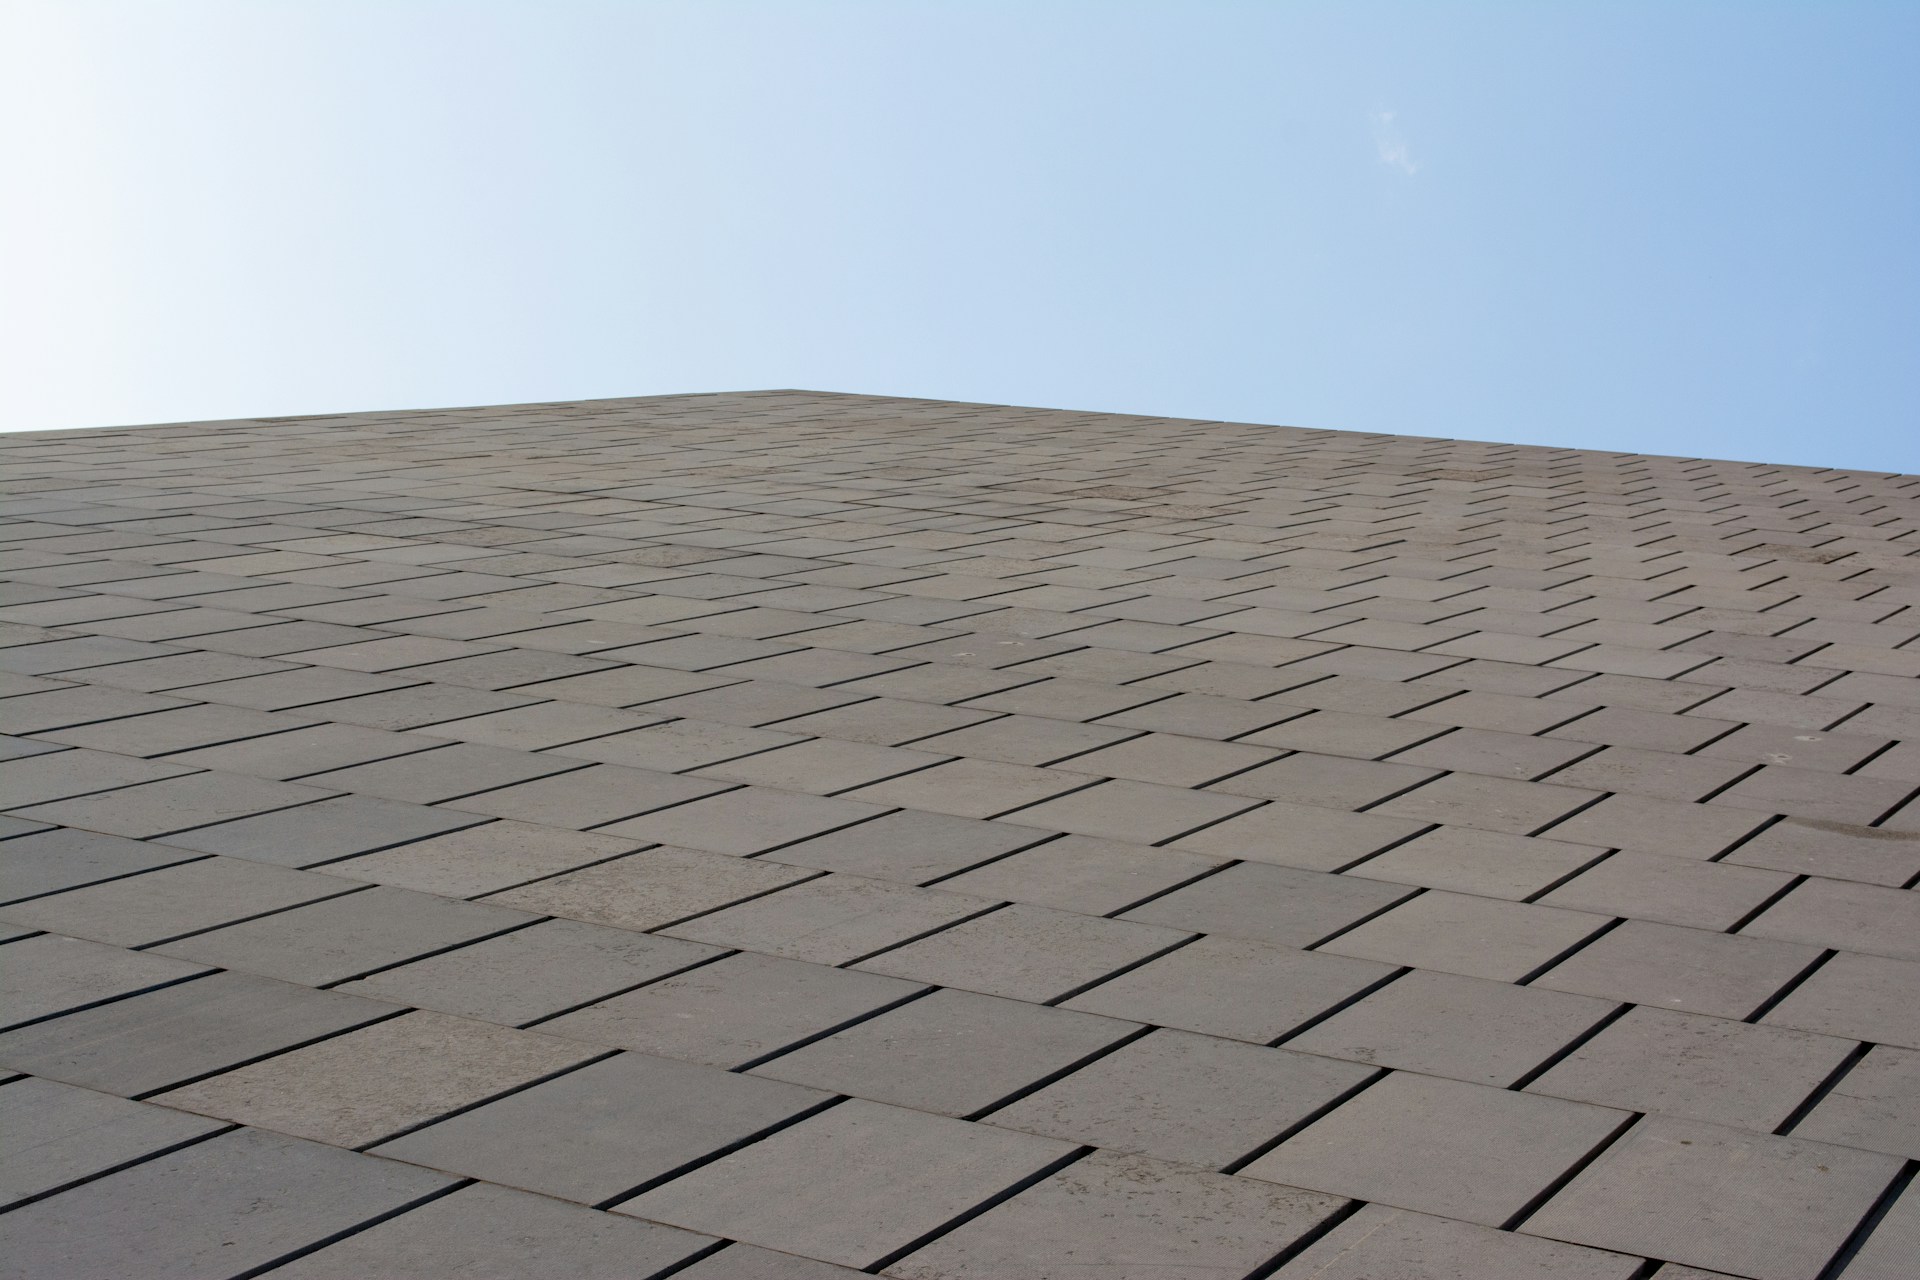
Flat and shingle tiles lay in a plane and are the least forgiving of thickness errors. Barrel and mission profiles hide small variations in the curve but demand a consistent radius.
Reclaimed barrel clay roof tiles work well on Spanish Colonial and Mediterranean repairs, provided the curvature across the lot stays tight enough to nest.
Avoid Close-Enough Replacements That Rock, Gap, or Misalign
A tile 3/16 inch thicker than its neighbors rocks under foot traffic and cracks. One that is 1/4 inch short opens the head lap and invites wind-driven rain. Test-fit a small field dry before nailing anything. Ten minutes on the deck beats a callback in February.
Confirm Compatibility With Surrounding Courses and Flashings
Check how the replacement meets valleys, step flashing, and ridge. Thicker material can force flashing legs out of plane and create a standing seam of daylight. Once the fit is settled, the visual work begins. That is where weathering rewrites everything you thought you knew about color.
Read Color, Patina, and Weathering Across the Roof
A roof that reads uniform brown from the ground is rarely one color up close. What you are matching is a hundred years of surface change layered over the original fired or quarried tone. Reclaimed roof tiles carry that same history, which is exactly why they blend where new material cannot.
Terracotta roof tiles darken, chalk, and bloom differently on every elevation. Vintage roof tile color also shifts with the substrate. Reclaimed clay roof tiles pulled from a coastal building look nothing like the same profile pulled from an inland farm structure.
Separate Original Fired Color From Surface Weathering
Snap a damaged tile in half and look at the fresh break. That interior tone is the true body color, undisturbed by decades of exposure.
Compare that break color against your candidate reclaimed tiles. If the bodies match, surface differences will close over a few seasons.
Compare Sheltered Undersides With Exposed Tile Faces
The underside of an old tile is a time capsule of the original finish. Line up an underside next to a weathered face, and you can measure exactly how far the roof has traveled, which tells you how much patina your replacement stock needs to look right on day one.
Account for Slope Orientation, Moss, Lichen, and Pollution
North-facing slopes hold moisture and grow moss and lichen. South slopes bleach. Urban roofs carry soot that rural roofs never see.
- North slopes: darker, greener, heavier biological growth
- South slopes: lighter, chalkier, more UV fade
- Sheltered eaves: cleaner, closest to original tone
- Ridge and hip zones: most wind-scoured and abraded
Plan Blending Patterns for Visible Historic Roof Repairs
Do not lay a solid block of new material in the middle of an aged field. Feather replacements outward in scattered courses so the eye reads texture, not a patch.
Salvaging sound original tiles from a hidden slope and moving them to the visible elevation is an old trick that still protects curb appeal. Color logic like this only pays off when you also know which slate variety you are actually looking at.
Identify Regional Slate Varieties and Historic Material Types
Slate is not a single material. Geology changes by quarry district, and that shows up as color, hardness, thickness, and how the stone ages on a roof. Getting reclaimed slate for roof repairs right means naming the variety, not just the shade.
Historic slate roof replacement work fails most often when a buyer orders by color word alone. Weathered slate roof tiles from different regions age along different paths. Some have held color for a century. Others shift on purpose. That was the point when they were specified.
Match Slate Dimensions, Thickness, Texture, and Edge Character
Standard reclaimed formats run 20 inches by random width, 18 inches by random, and 16 inches by random. Record which of those your roof uses before calling anyone.
Also note the edge character. Historic slates often show a slightly chamfered, punched edge that machine-cut material does not reproduce.
Recognize Purple, Semi-Weathering Green, and Mottled Green With Purple Slate
Purple slate reads deep plum to plum-grey and stays stable over long service. Semi-weathering green starts green and shifts toward buff, tan, or soft brown as it ages. Mottled green with purple carries both tones in one piece, giving a variegated roof field that is nearly impossible to fake with new stock.
Compare Grey, Black, and Buckingham Black Slate for Weathered Roofs
Grey slate softens slowly and suits transitional and traditional work. Black slate roofing keeps a dense, dark face with visible natural texture. Buckingham Black slate from Virginia is the benchmark for unfading black roofs. It is among the rare slate roof tiles that most general suppliers never stock.
Determine When Reclaimed Slate Is the Right Choice for Repairs and Replacement
Antique slate roofing is the correct call whenever the surrounding field is aged, and the repair must disappear. New quarried stone sits too bright next to century-old material. For replacing broken slate roof tiles across scattered areas, reclaimed stock also matches the thickness, which new production rarely does.
Practical historic slate tile matching guidance covers those judgment calls in more depth. Naming the variety is step one. Finding real quantities of it is where most projects stall.
Source Reclaimed Stock Through a Specialist Process
Once you know the exact variety, the search narrows fast. Recycled roof tiles in a specific format, color, and thickness are not a catalog item you can filter online.
Reclamation yards hold mixed inventory that turns over unpredictably. A yard may have your profile in June and nothing by August, so phone contact beats browsing. Matching reclaimed roof tiles is really a conversation with someone who handles the material daily.
Why Standard Suppliers Often Cannot Resolve Discontinued Profiles
General roofing suppliers sell what is currently manufactured. Discontinued roof tiles from the 1890s or 1920s sit outside that system entirely. Preservation guidance on sourcing materials for historic repair notes that authentic material is what keeps a building's character intact.
Provide Batch Photos, Measurements, Quantities, and Project Timing
Send your documentation package up front. It cuts days off the search.
- Length, width, and thickness with calipers
- Batten gauge and exposure
- Square footage plus 10 to 15 percent for sorting
- Photos of face, underside, and edge
- Install date and delivery access details
Evaluate Reclaimed Material for Soundness, Consistency, and Usable Yield
Ask how the lot is inspected. Hand-sounded and culled stock means the delaminated pieces are already removed before crating. Ask what percentage of a pallet is typically usable. That number drives your real cost, not the per-piece price.
Use Samples or Detailed Approval Photos Before Confirming a Match
Request batch photos or a physical sample and hold it against your roof in daylight. Approve in writing, since reclaimed orders are commonly final sale. Approval settles the material question. Getting it staged and installed is the last piece.
Turn Identification Into a Job-Site-Ready Repair Plan
Material that matches on paper still has to arrive intact, on schedule, and in enough quantity to sort. That logistics gap sinks more historic roof repairs than color mismatch does. Reclaimed inventory is finite by definition. Order once. Order enough.
Allow for Variable Inventory and Order Enough Material for Sorting
Add 10 to 15 percent to your measured square footage. You will cull breakage, plus set aside pieces that read too light or too dark for the visible slope. Buying a second time from the same lot is often impossible. Reclaimed roof tiles come from a single salvaged building.
Coordinate Crating, Palletization, Freight, and Delivery Access
Confirm the material ships crated and palletized. Loose slate on a flatbed arrives as gravel. Check truck access, turning radius, and whether you need liftgate service. Most reclaimed orders ship within 2 to 5 business days once confirmed.
Inspect Delivered Material and Protect It Before Installation
Walk the crates at delivery and photograph any freight damage the same day. Damage claims typically require reporting within 48 hours. Stack slate on edge, not flat, and keep it off bare ground. Cover clay tile so it does not soak up water before installation.
Confirm Current Availability Before You Commit to the Match
Inventory changes as historic buildings come down, so availability is variable rather than permanent. Confirm current stock with your supplier, measurements, and quantity in hand before you write the match into a schedule.
A direct conversation about live inventory usually resolves a match faster than weeks of chasing online listings, and it is the natural last step before the material ships.
Frequently Asked Questions
How Can I Identify the Manufacturer, Profile, and Size of Existing Roof Tiles?
Pull an intact tile and check the underside for stamped names, numbers, or quarry marks near the nib or flank. Then measure length, width, and thickness across several pieces, since historic lots use random widths. Photograph the face, underside, and edge together for reference.
What Measurements and Photographs Are Needed to Source a Matching Reclaimed Roof Tile?
Supply length, width, caliper thickness, batten gauge, exposure, and total square footage plus 10 to 15 percent. Include photos of the tile face, underside, edge profile, and a wide shot of the roof slope. That package lets a specialist search real inventory instead of guessing.
How Do I Match the Color, Weathering, and Patina of Salvaged Clay or Slate Tiles?
Break a damaged tile and compare the interior body color, which shows the true original tone under the weathering. Then judge surface patina against the same slope orientation, since north and south faces age differently. Reclaimed material already carries decades of patina. It blends far better than new stock.
Where Can I Find Authentic Reclaimed Tiles for a Heritage Roof Repair?
Specialist reclaimed suppliers who salvage directly from historic demolitions carry formats that general roofing outlets never stock. Look for hand-inspected, sounded, and culled material with batch photos available before purchase. Guidance on reclaimed roofing sourcing explains what to ask a supplier first.
What Should I Do When the Original Roof Tile Is No Longer Made?
Shift the search from manufacturers to salvage inventory, since discontinued profiles only exist as reclaimed material now. Match dimensions and profile first, then color, and be ready to accept slight variation across a lot. Ordering extra allows sorting for the most visible elevation.
How Can I Confirm Replacement Tiles Will Fit the Existing Batten Gauge and Roof Pitch?
Measure the existing batten spacing and the exposure to weather, then confirm the replacement length supports the same head lap. Dry-lay a small test field before fastening anything permanently. If the pitch is low, verify the lap still meets the minimum for that profile.
Sequence Beats Guesswork on a Historic Repair
Matching old roof tiles comes down to sequence: document the roof, lock the profile and fixing details, then solve color with material that has already aged. Skip the documentation step, and every later decision turns into a guess.
Reclaimed slate and clay tile carry the thickness, texture, and patina that new production cannot replicate. That is what lets a repair on a historic home settle into the roof around it instead of standing out as the newest thing on the slope.
If you are specifying material for a restoration or a matching job, call Reclaimed Slate Roofing at 225-954-8393 with your measurements to get real pricing and availability. You can also browse current salvaged inventory at reclaimedslateroofing.com, or compare reclaimed slate pricing before you call.